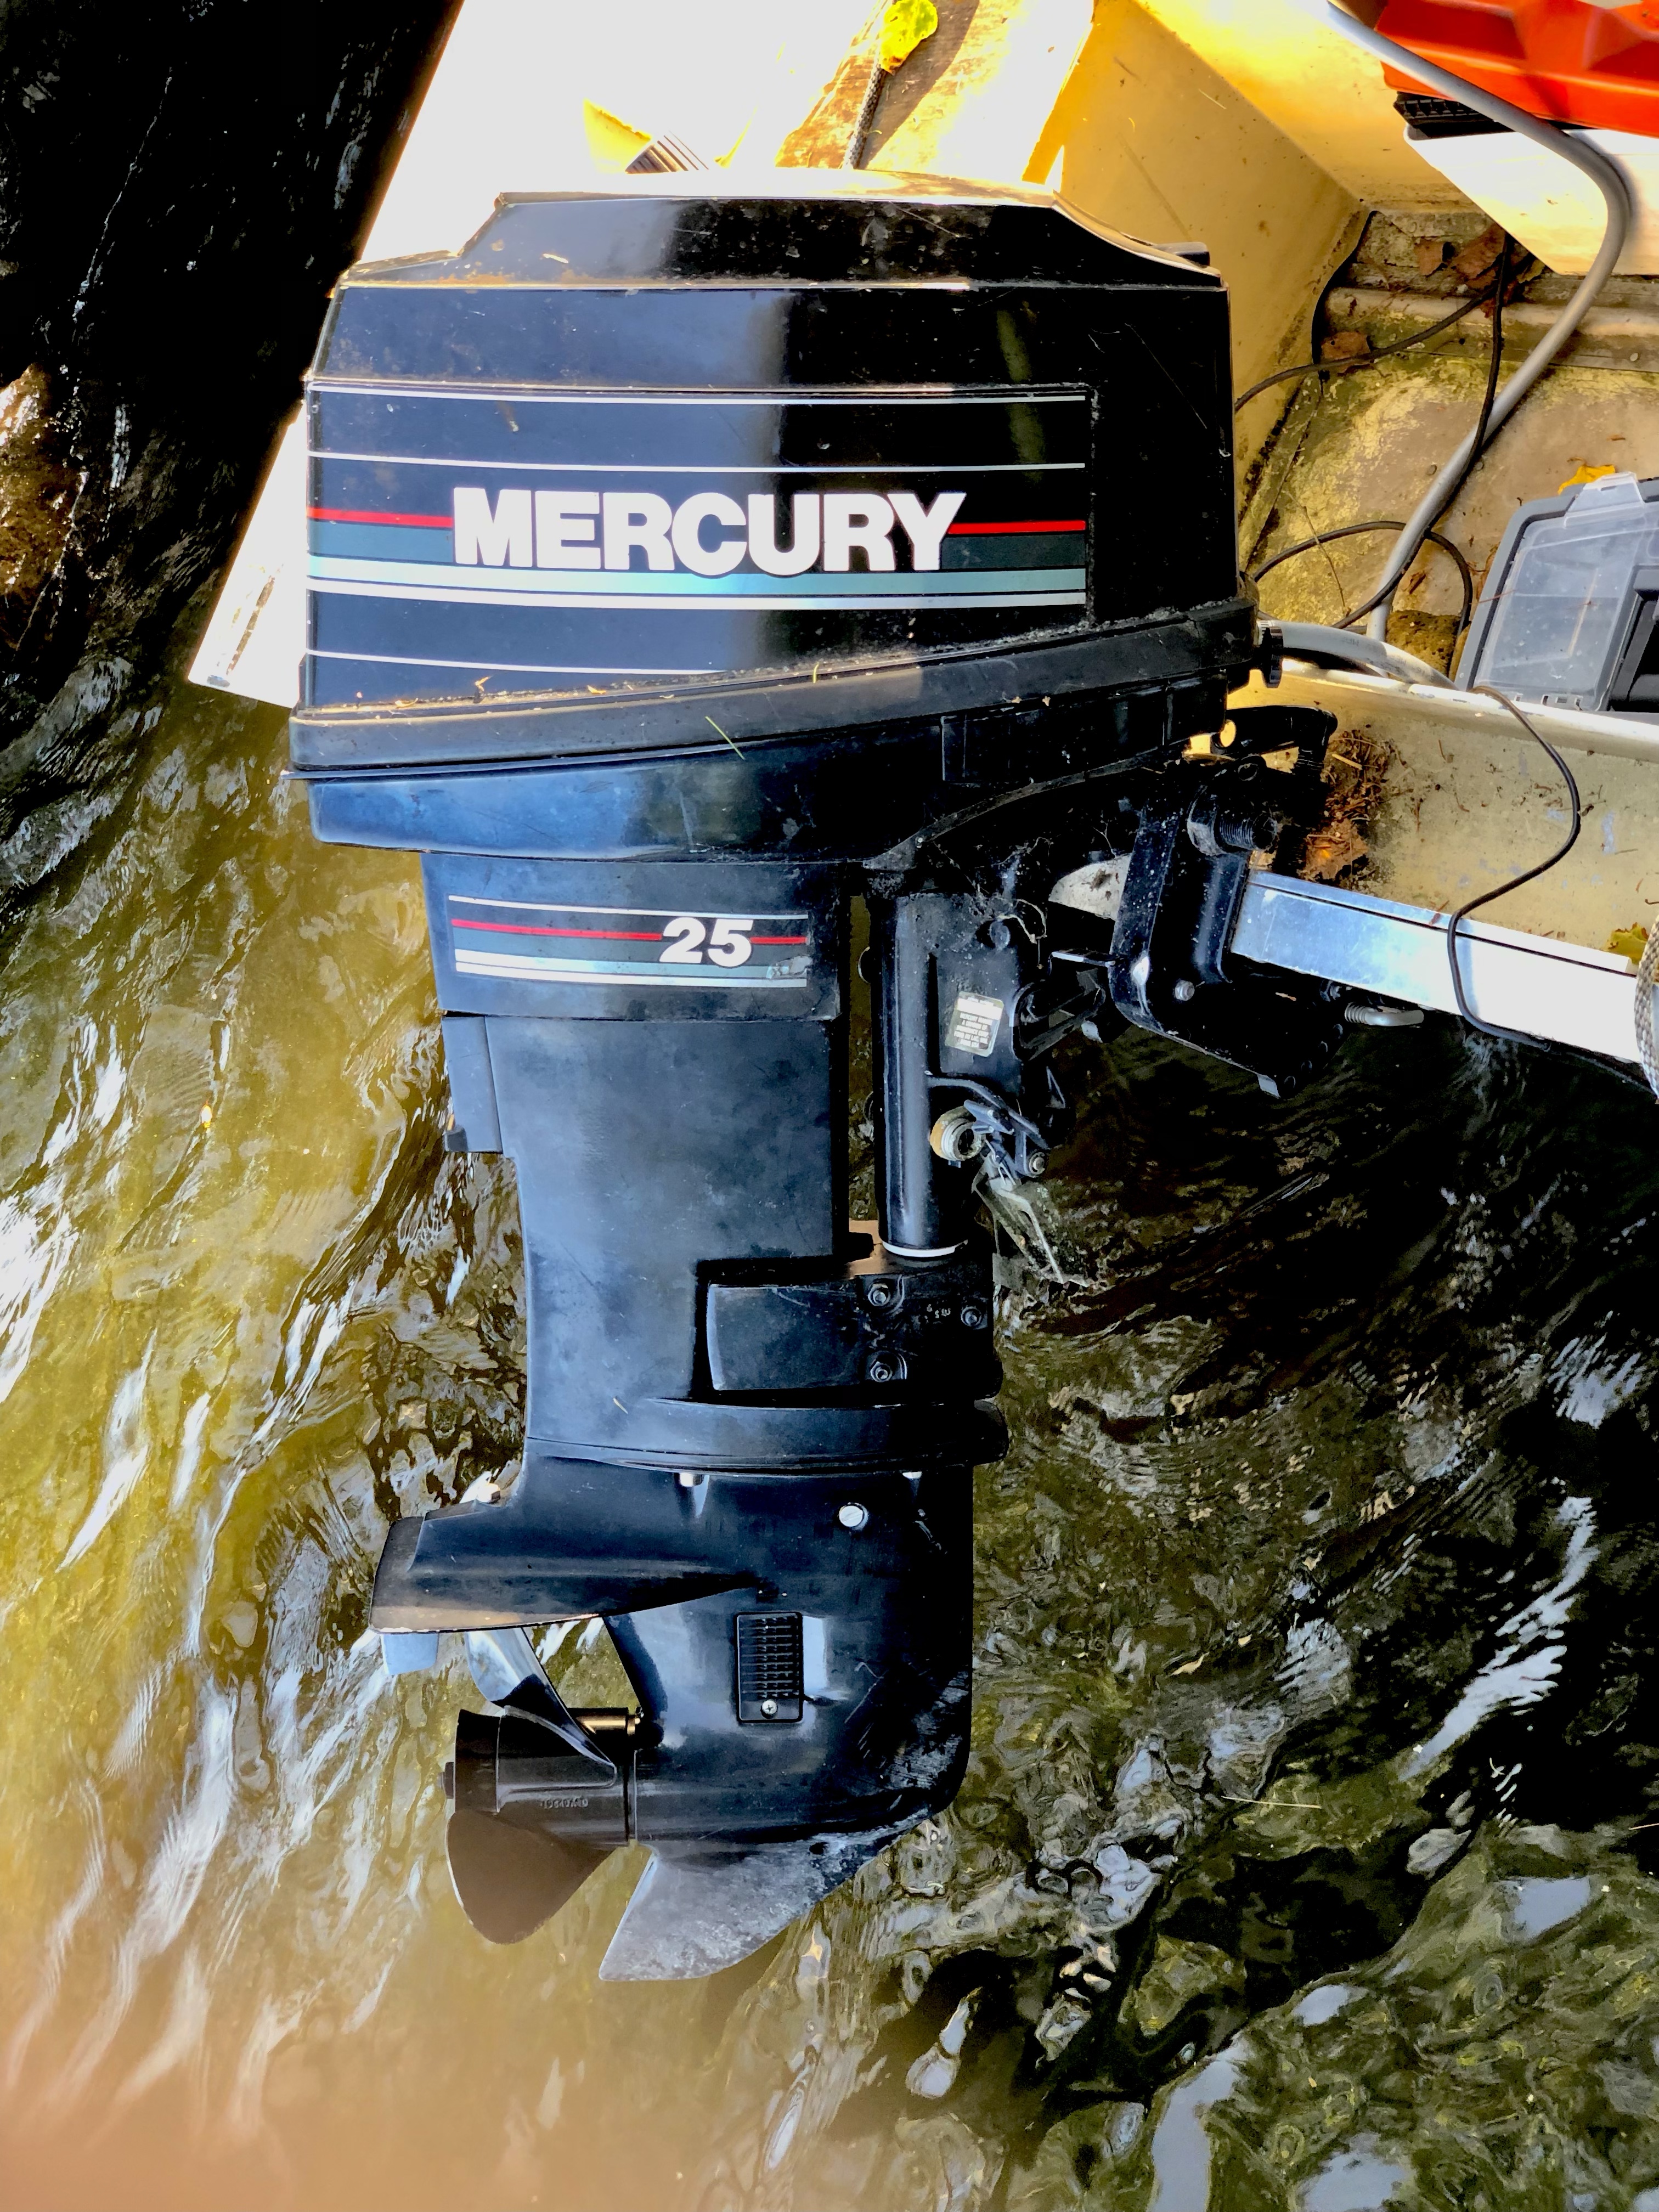
A couple of years ago the electric start on our 1990 Mercury 25hp outboard stopped working. I’d thought about taking it in to a marina to get it repaired but that would be awkward, put the boat out of commission for an unknown amount of time and likely be costly. It still started well with the manual “pull the rope” method so nothing was done. This year it was the target of a DIY repair.
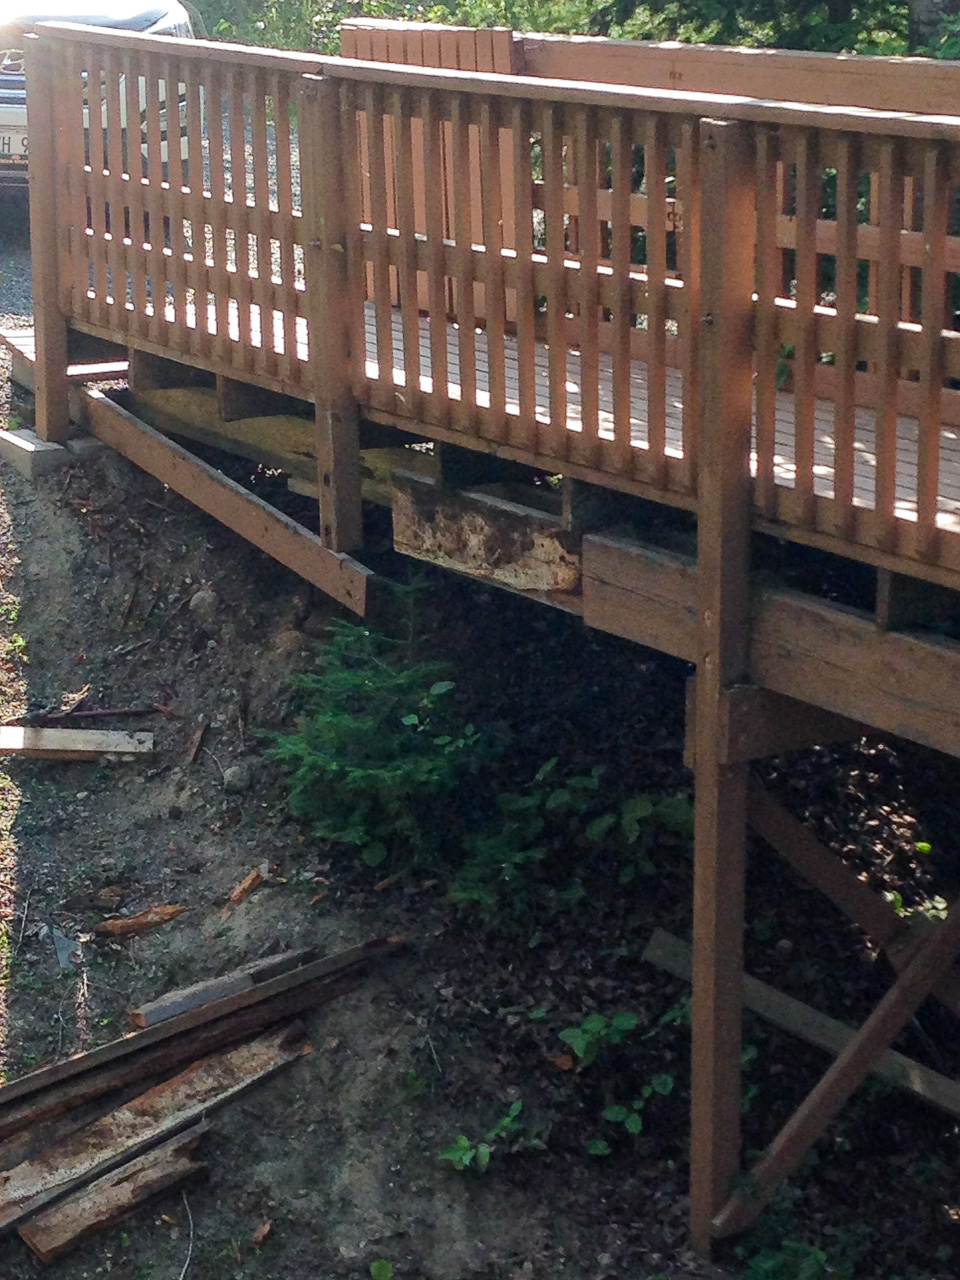
Shorty after opening the cottage on the May long weekend I noticed a beam supporting the deck on the lower north side had some very bad rot and was collapsing! Also, some of the posts supporting this beam were in pretty rough shape too! Part 1.
On the May long weekend as I was checking on various cottage systems during the opening process I noticed a problem with our deck. A fairly significant issue where wood rot on one of the beams is causing it to collapse.
This beam has some serious rot right above the post which is also in rough shape
This issue is at the front (lake side) left corner of the deck that wraps around the entire cottage. This is also the point where the cottage and deck are highest off the ground as the ground is sloping downwards to the lake quite rapidly in this area.
I wasn’t around when the deck was being built and my dad and his friends did it all. There were some interesting decisions made in places and this is one of them. The ground right under this corner of the deck is quite uneven and has some large vertical rocks right where you would normally have the post to support the corner. A decision was made to insert two posts away from this corner and cantilever the deck out away from these two posts.
Far corner just hanging in the air
So the plan I came up with is to build a temporary beam, support the beam on several temporary posts and to use the temporary beam and jacks to lift the deck a bit and cut out the damaged beam. A new permanent beam would be inserted into place onto some new posts and improved footings. The temporary beam would be lowered and removed to complete the repair.
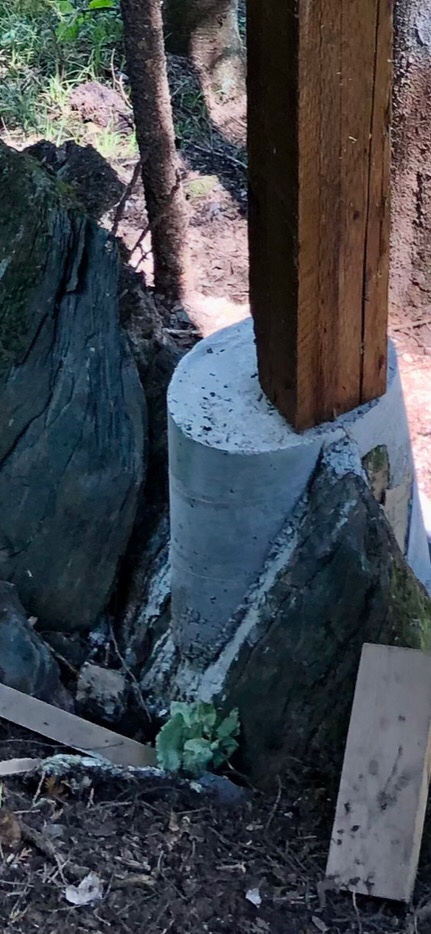
Step one was to tackle the far corner where there is currently is no post by pouring a concrete footing over the vertical rock structure using the rock to anchor the concrete.
The area is pressure washed and as much loose material as possible is removed. Then a sono tube is customized to fit over and around the rock.
Three 30kg bags of ready mix concrete were used and mixed by hand in a wheelbarrow Custom shaping to sono tube to surround the rock
One thing I didn’t anticipate was that cutting the sono tube like this (above) on both sides weakened the structural integrity of the tube. As the concrete was added the weight caused the bottom of the tube to flair out. Several rocks were used to hold it together preventing a blowout.
The resulting shape is a little interesting but it should do the job.
New concrete footing, a little splayed out around the bottom for extra support.
The new temporary beam is quite an engineering feat that I’m hoping will do the job. The main piece is a 2×10 – 12’ with a 2×6 – 6’ stacked on the front end to account for lack of joists in this area because of the direction of the deck boards across the front. A notch is cut in the 2×12 to allow it to fit into some other deck members.
As I’m working alone getting this 2×10-12’ up in the air about 8’ at the far end is a bit of a challenge. I create some slings from some wire and attach the sling to the deck boards above. This way I can lift one end at a time into the slings and then tighten them up to bring the beam up to the underside of the deck. With the temporary beam hanging in it’s rough position I create several footings and posts with jacks on top in preparation for lifting the deck. Did I mention this is a two story deck?
Temporary posts are installed and braced and some existing bracing is repaired on a few other near by posts. 40+ years is tough on the wood that is exposed to the elements.
One of the temporary posts next to the rotted post to be replaced and the temporary beam suspended overhead.My temporary Franken-beam hanging in it’s rough position
The beam being replaced is 16’, my temporary is 12’, what to do? Making good use of various bits and pieces of lumber that have accumulated around the cottage from other building projects I manage to extend the 12’ by an additional 4’. I use two 2×6-6’ and a 2×6-4’ to scab onto the 12’
The back of the beam with 3 2×6’s laminated together supported by a post and a classic screw jack that was my grampa’s
In the middle of the temporary beam is another post with a telepost on topAt the front end another post that was salvaged and in rough shape on top of a footing that is also a bit sketchy with a nice telepost on top. Just over 8’ to the ground in this corner.
All of this so far has taken four days. Not exactly full working days as I start between 9 and 10am by fogging for mosquitoes, applying insect repellent and gathering the tools. I work straight through until 2-3 pm when the insect repellant is wearing off and the mosquitoes are becoming annoying and I’m getting tired. ? Things are slow as the ground is quite uneven and you’re always hunched over under the deck. With extra beams, posts, bracing etc. it’s getting to be quite the obstacle course and I’ve still managed to bang my head on various things several times.
At this point I’m ready to cut all the nails holding the old beam in place and start to lift the deck to free the old beam.
This last week on vacation I tackles a few cottage maintenance projects. Some required by the passage of time, some required by this years unusually high water levels.
Post Replacement
The first was to replace a post that had floated away. At the shore end of the newer dock section I suspect that some serious wave action lifted one of the beams and washed out the post. When I built the dock, the post was very far our of the water and with the weight of the beam and deck boards I never thought this would happen and neglected to physically attach the post to the beam. It’s only 9″ long and is a 6×6 so it didn’t need any bracing. So, today it’s cut a new post, jack up the beam, insert and attach the post to the beam.
The next project is to replace a section of joists that support the walkway from the driveway to the upper deck at the back of the cottage. Apparently we didn’t use pressure treated lumber on this project originally, over 30 years ago, and time has caught up with us.
Out with the old and ready for the new
Wood rot has claimed a good section of two 2x10s at the driveway end. I put in a temporary 2×8 to support one side of the walkway and then unbolt the railing posts and the 2×6 extension boards that support the initial step. Then two offset cuts to remove the bad 2x10s and form a splice for the new pressure treated 2x10s. Bolt it all back together, remove the temporary support and voilá, good for another 30 years, at least this section anyway.
The next project is a little more challenging. The old section of the dock is tilting down on the shoreward side, quite a bit.
It seems that the crib under the dock has shifted/compressed over time dropping down 4-6 inches. Since the upper deck rests on this edge, it has inherited a bit of a downward slant as well. After pulling up a few deck boards it seems I did a great construction job here and toe nailed all the deck joists to the top of the old dock section. This will make it very difficult to separate from the dock which was Plan A. Plan A was to lift up the deck, then raise up the joists on the crib to level the dock and then lower the deck back onto the dock. Oh well, Plan B.
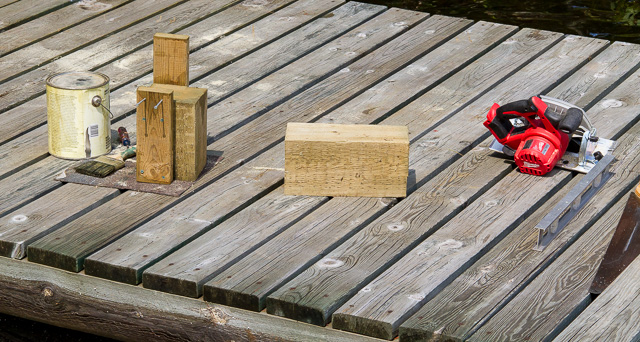
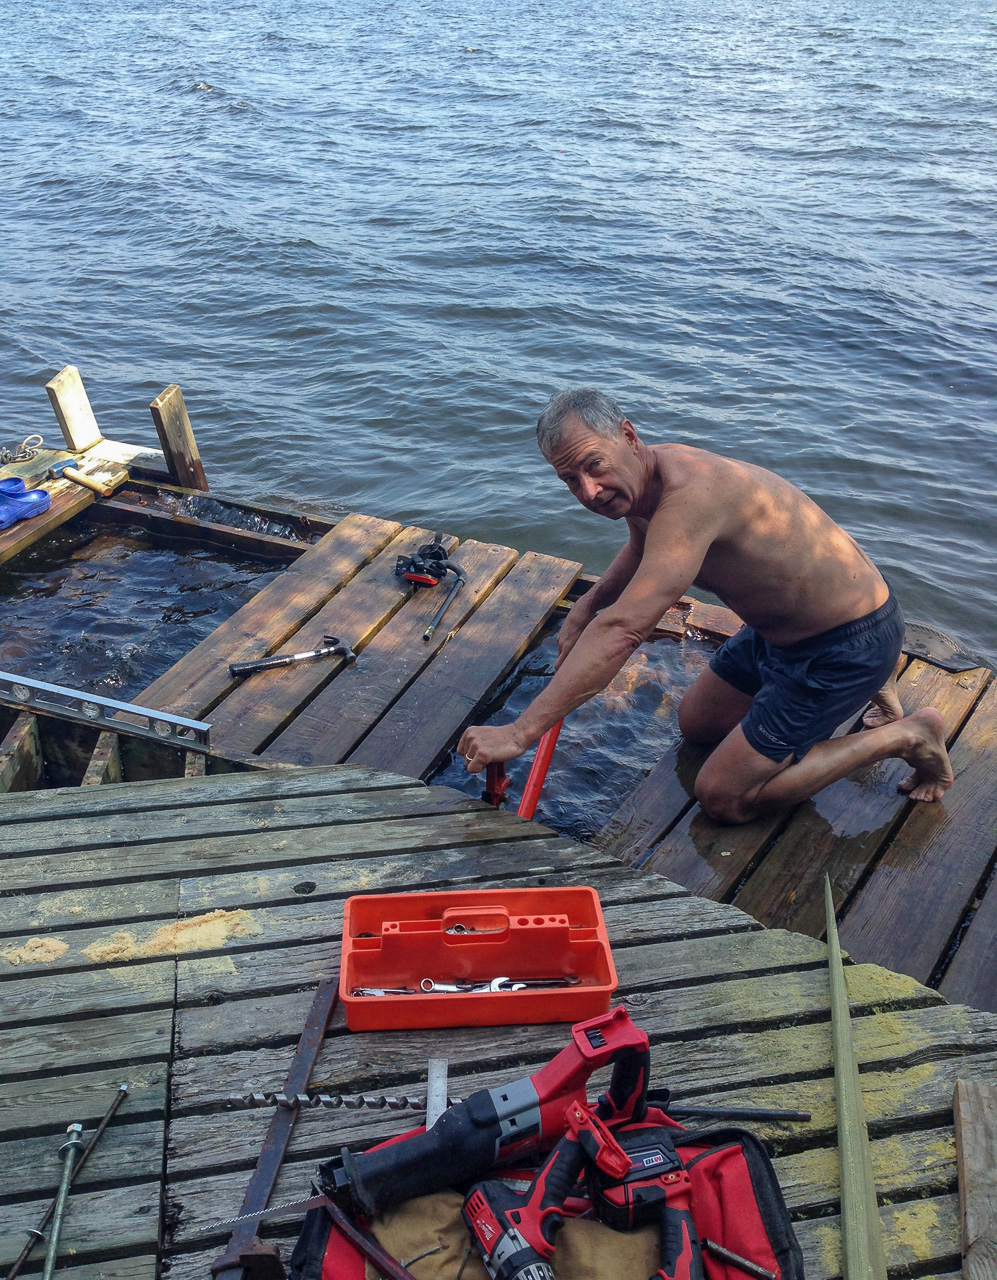
Hard at work fixing up the dock.
Plan B, after swimming around end checking out the crib is to jack up each end of a crib timber and raise both the dock and the deck at the same time. This required cutting out several dock boards to get access, but is successful in the end.
It was a fairly warm day and the water was about 74°F so it was quite enjoyable to work in a bathing suit and be in and out of the water. Plus with the high water levels boat wakes were keeping the top of the dock pretty wet most of the time.
Part way through the day my super-duper cheerleader and awesome wife delivers a dockside lunch that is just fantastic and we take a break to enjoy the sunshine & view.
The whole thing turned out to be pretty much an all day job with many trips up to the cottage for more tools, lumber etc. Once the repair is completed, boards replaces and everything is cleaned up it’s time to call it a day.