Category: The Cottage

All things Cottage at Lake of the Woods

  • Dock rebuild July 14-16

    Dock rebuild July 14-16

    This weekend it’s Eric, Parker and Dane for a “guys” weekend at the lake. Eric is focused on dock work and Parker and Dane have some new lake toys to play with!

    Dane’s birthday present was a kayak and with two boys you pretty much need two of everything so Parker has one too!

    While the young guys are exploring the lake and their new kayaks Eric is hard at work on the dock. Here it is at the end of the weekend.

  • Dock Re-Build – June 30 – July 3, 2023

    Dock Re-Build – June 30 – July 3, 2023

    Eric has taken a day off work to pick up another 4,000 lbs of lumber for the dock project.

    Load #2 Arrives at the lake

    He is joined by Jared and Ryan to help unload and build for part of the weekend,

    End of the Saturday(?) looking north
    Looking back south
    Deck to ramp transition area
    Decking going on at around noon Sunday (?).

    It’s Sunday morning and Eric is now running solo in putting on the deck boards. The new deck is starting to look quite massive compared to the original dock.

  • Dock Rebuild: June 16-18, 2023 – Father’s Day Weekend

    Dock Rebuild: June 16-18, 2023 – Father’s Day Weekend

    There is a big crew down for the weekend. Eric, Des, Parker & Dane, with Len & Darlene. Jared and Eric’s friend Barret and Scott.

    Crib #2 is the first to be rebuilt. During 2022 the high water caused it to separate under the water line and the top half floated off to be recovered and re-attached and levelled up to the new height.

    Crib# 2 is the first to be rebuilt

    Crib #2 to the shore needed a new concrete pad as the original crumbled away so Scott forms up a bit of custom work.

    New custom concrete pad to support the beam that will run out to Crib #2

    To mix the concrete the old wheel barrow is pressed into service. This wheel barrow has been at the cottage from the very start and I can remember it from my parents house for years before that. A bit of vintage equipment that gets a surprising amount of use.

    Eric, Scott and our vintage green wheel barrow. Crib #1 being built on the ramp in the background

    The original Crib #1 needed to be totally replaced. It was built from railroad ties that were nailed and bolted together but over 40 years in the water took their toll and there was not much left.

    While Eric and Scott are lining things up with Crib #2 and the shore, Jared is busy building Crib#1

    Jared building Crib #1

    The pile of rock in the foreground was emptied out of the old crib and will go back into the new crib. Lots of manpower involved everywhere in this project. Between the rocks and Jared you can see the old railroad ties from the original Crib #1

    Once Crib #1 is built it is floated into place.

    But the bottom of the lake was hiding some surprises that presented a challenge to getting Crib #1 into the desired place. This took quite a bit of time and the muscle power of all the guys plus the leverage of a 6′ iron bar borrowed from the neighbour to move a large rock.

    Some struggles getting #1 into position

    Some of us were on the shore watching the young guys work on the problem. I was farther back with the camera.?

    Len on the ramp as the young guys work on getting Crib #1 into position

    Next up is building and positioning the beams to connect Crib #1 to Crib #2

    Building a beam to connect Crib #1 to #2
    Beam in place
    Walking the plank

    After a long morning the crew breaks for lunch prepared by Darlene & Des.

    After lunch with the beams connecting Crib #1 & #2 in place, more beams and posts are put in to join the shore to Crib #1

    By the end of the day all of the posts and beams are in place and some joists are being positioned. The crib work seems to get all the attention but there is a complex post and beam going along the shoreline to carry all the joists from the cribs.

    Fabulous progress was made in a single weekend thanks to a very hard working crew. My heart felt thanks to all. ❤️

  • Dock Rebuild: June 9-11, 2023

    Shirley & I are down this weekend and the weather is quite nice. In preparation for the crew coming down for the Father’s Day weekend, we spend quite a bit of time doing spring cleaning. I washed ALL the bedding down to the mattresses and Shirley does an amazing re-org of the kitchen.

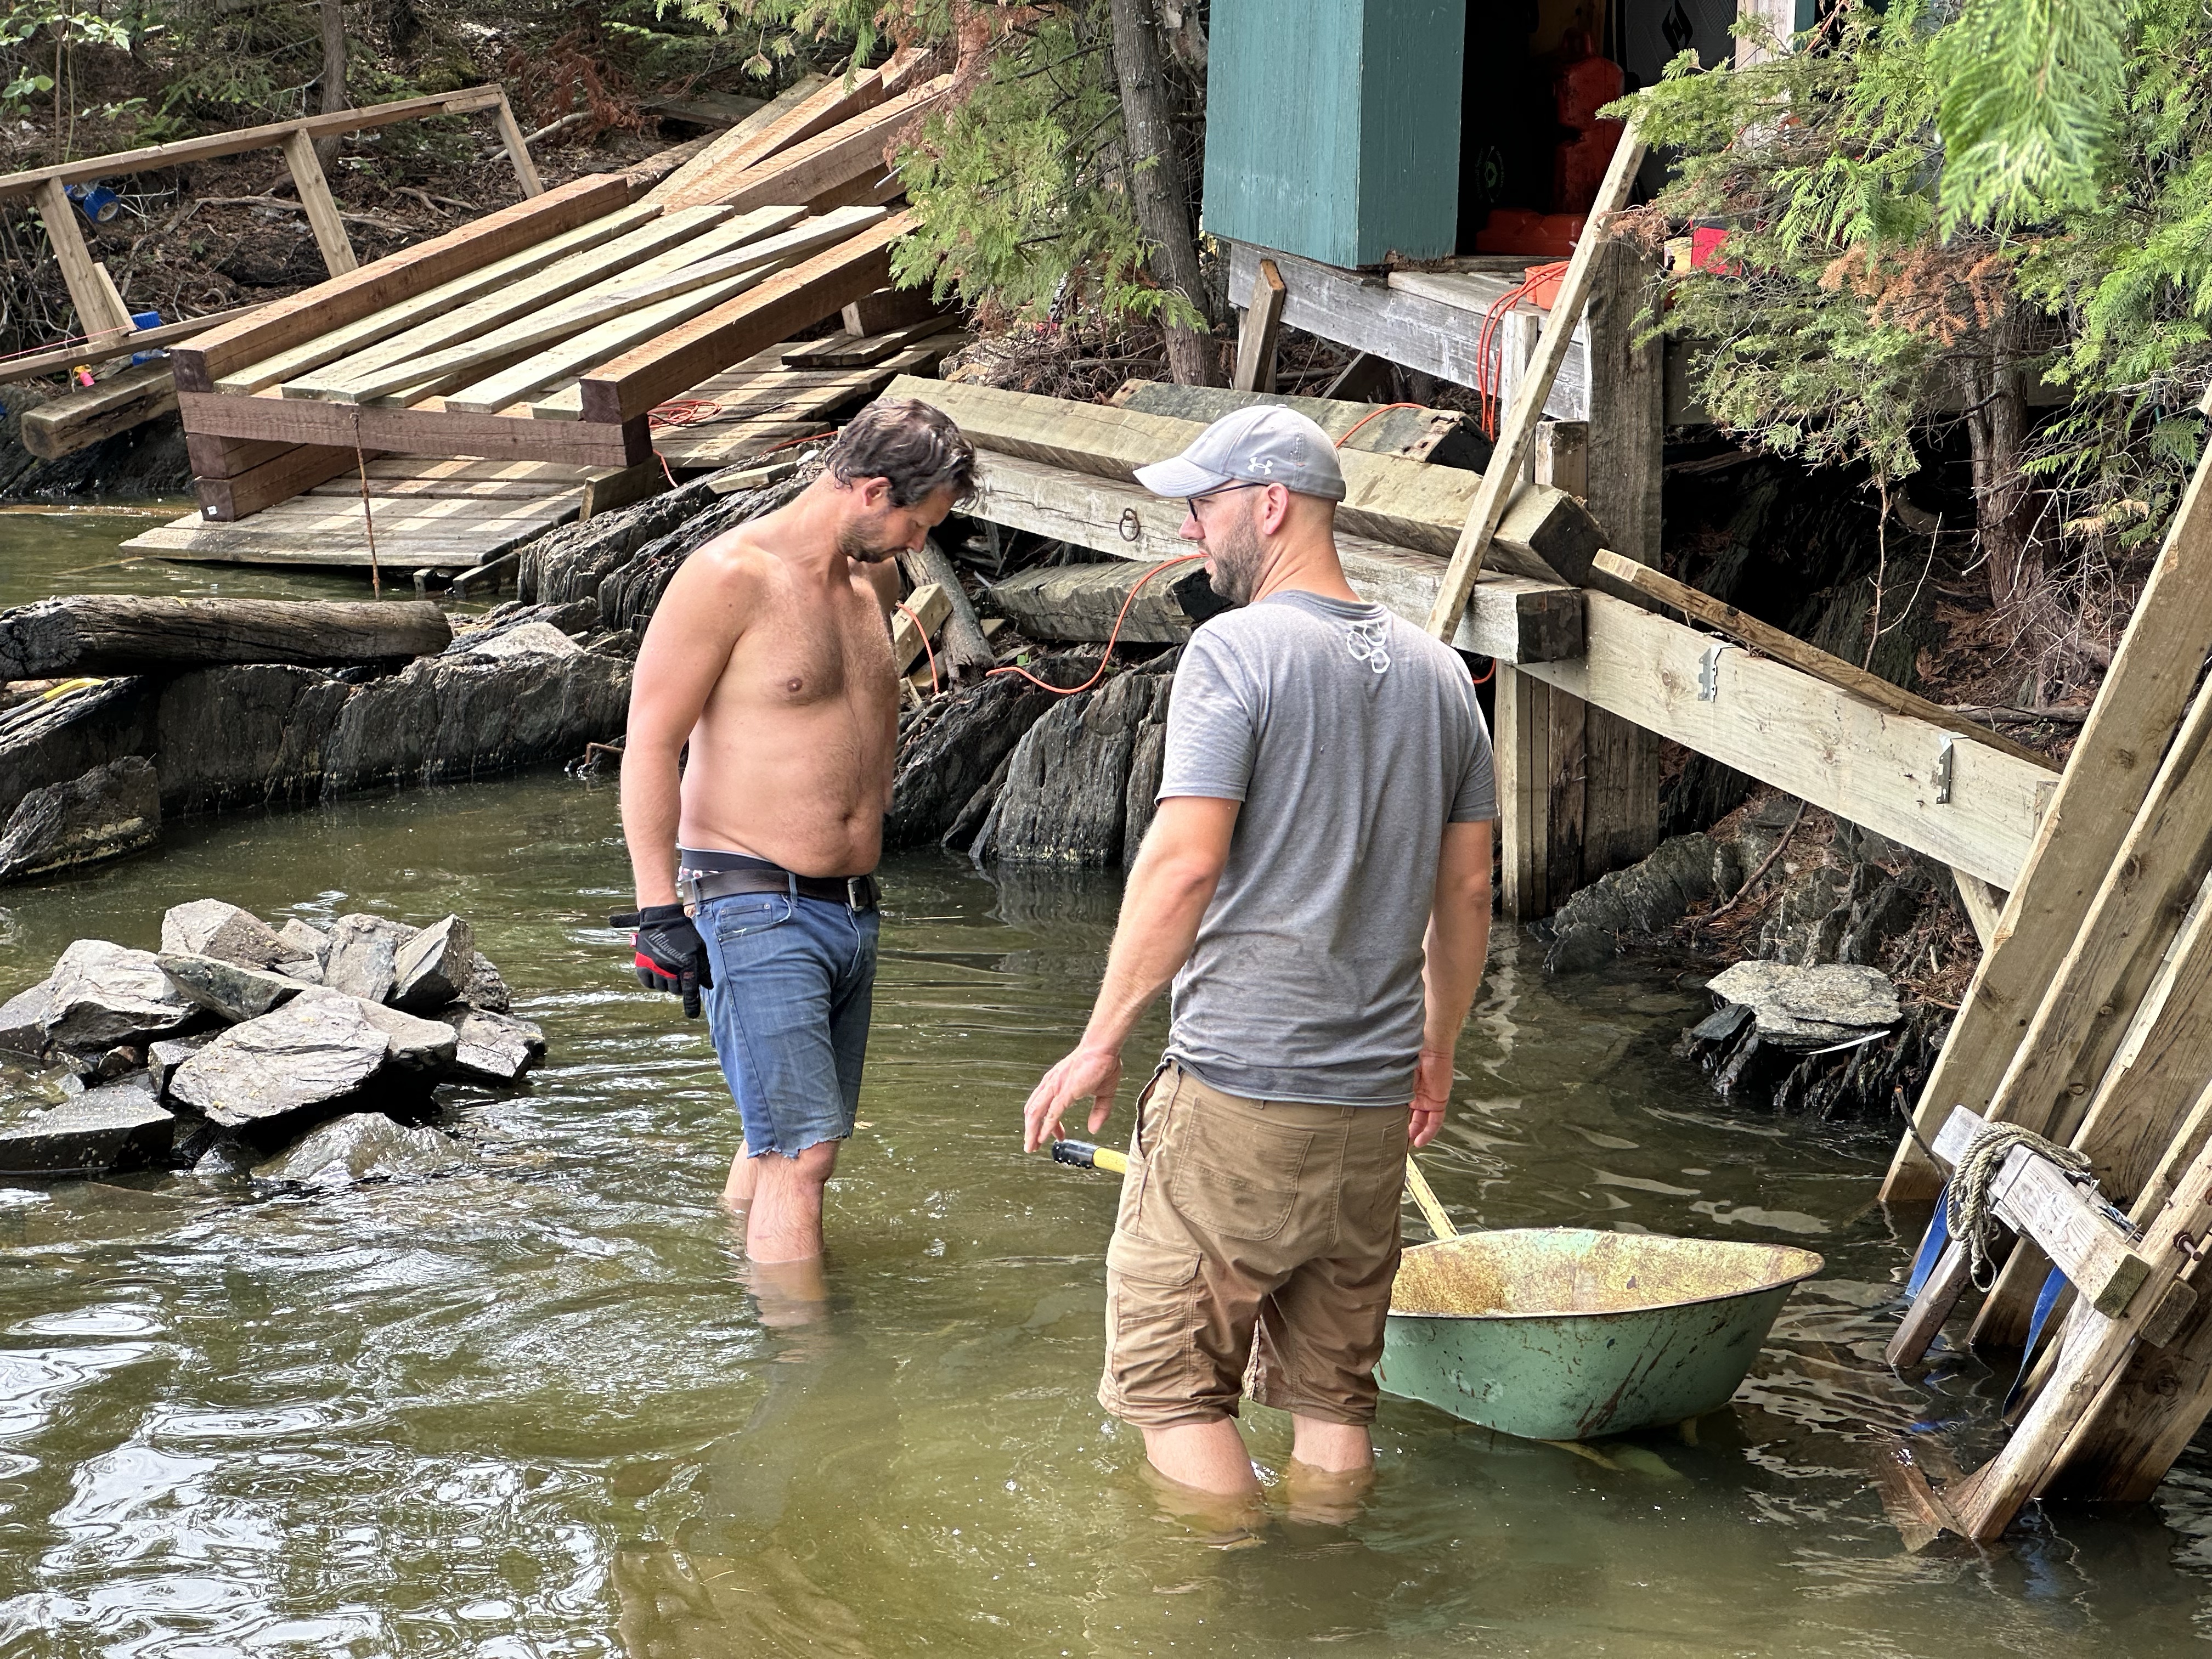
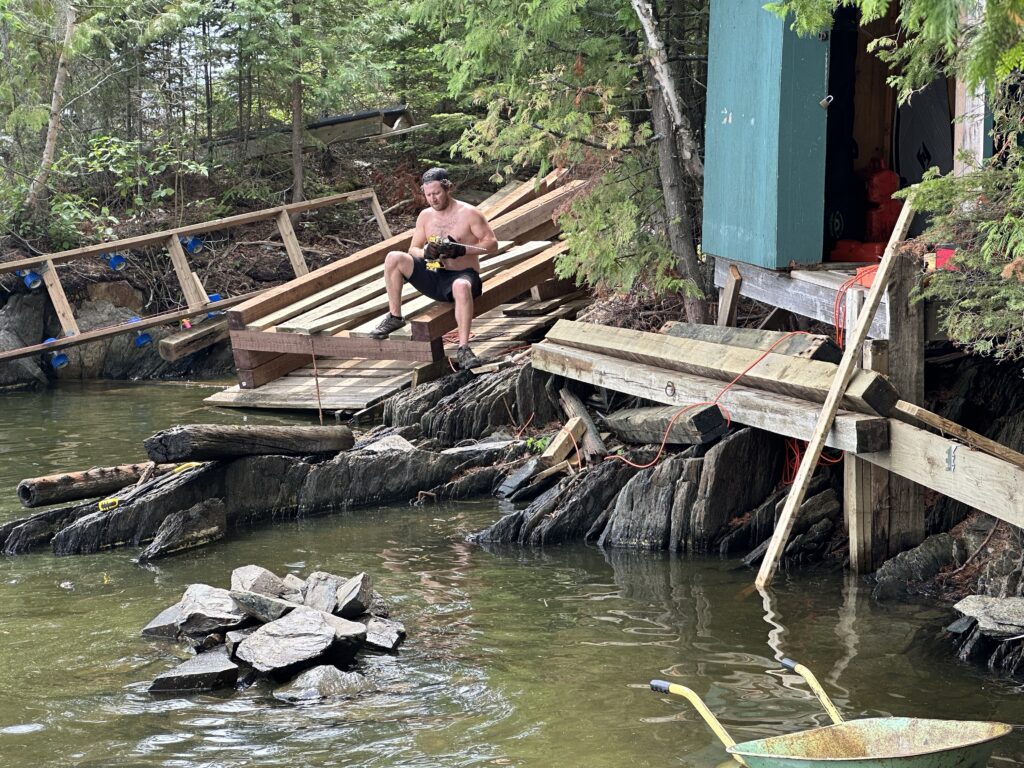
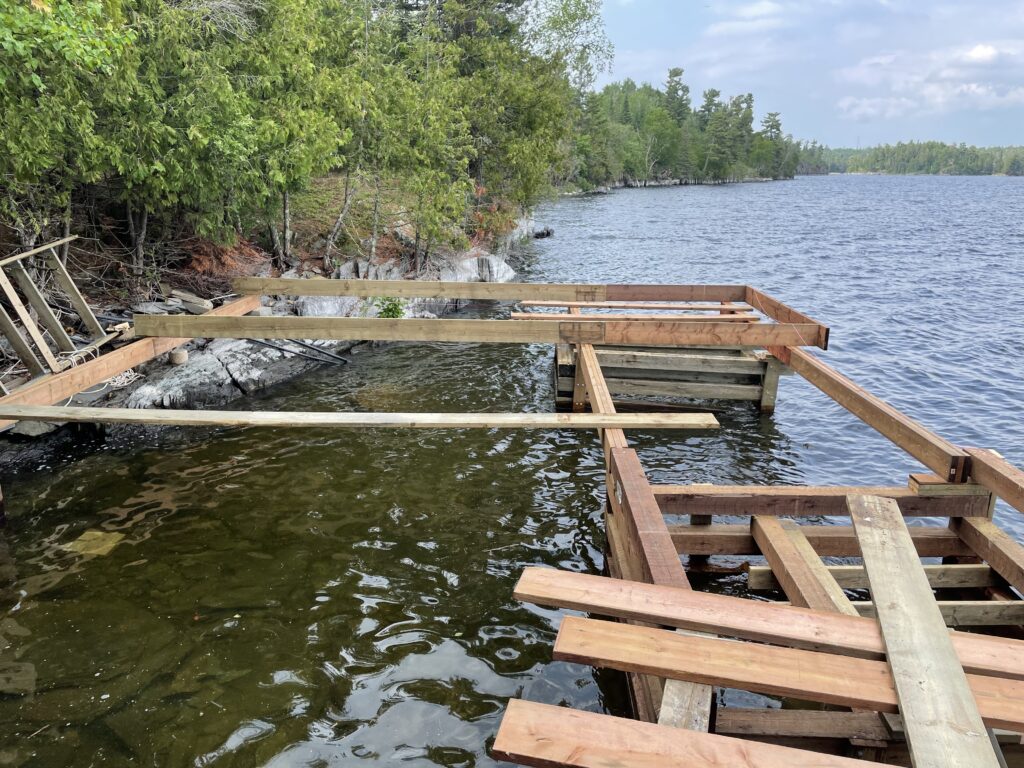
    At this point there has been a lot of deconstruction of the original dock that was built in 4 stages over 40 years as the cottage evolved. So, perhaps it’s time to record some dock history.

    Dock History

    The original dock was a 40’ straight one across 3 cribs from the shore. The design was simple in keeping with the days. Cedar trees and railroad ties were used to build the cribs that were nailed and bolted together. The dock was to hold the 26’ Express Cruiser that my Dad owned for quite a few years.

    However, one weekend a storm came in from the north and the water level was high causing the last two cribs being ripped off.Those beams and boards were repurposed to form the two boat ramps where the aluminum runabout and the sail boat lived for many years.

    The original dock was also home to a storage box that housed the water pump systems. However this box was now floating/dangling on the end of the highly damaged original dock. This prompted me to build s small platform higher up on the shore (where the current “boathouse” is located with the box and contents located to a safe location.

    Dock expansion number one was to build a 8’ wide deck from the front of the “boathouse” platform to the remaining original dock. This was it for many years.

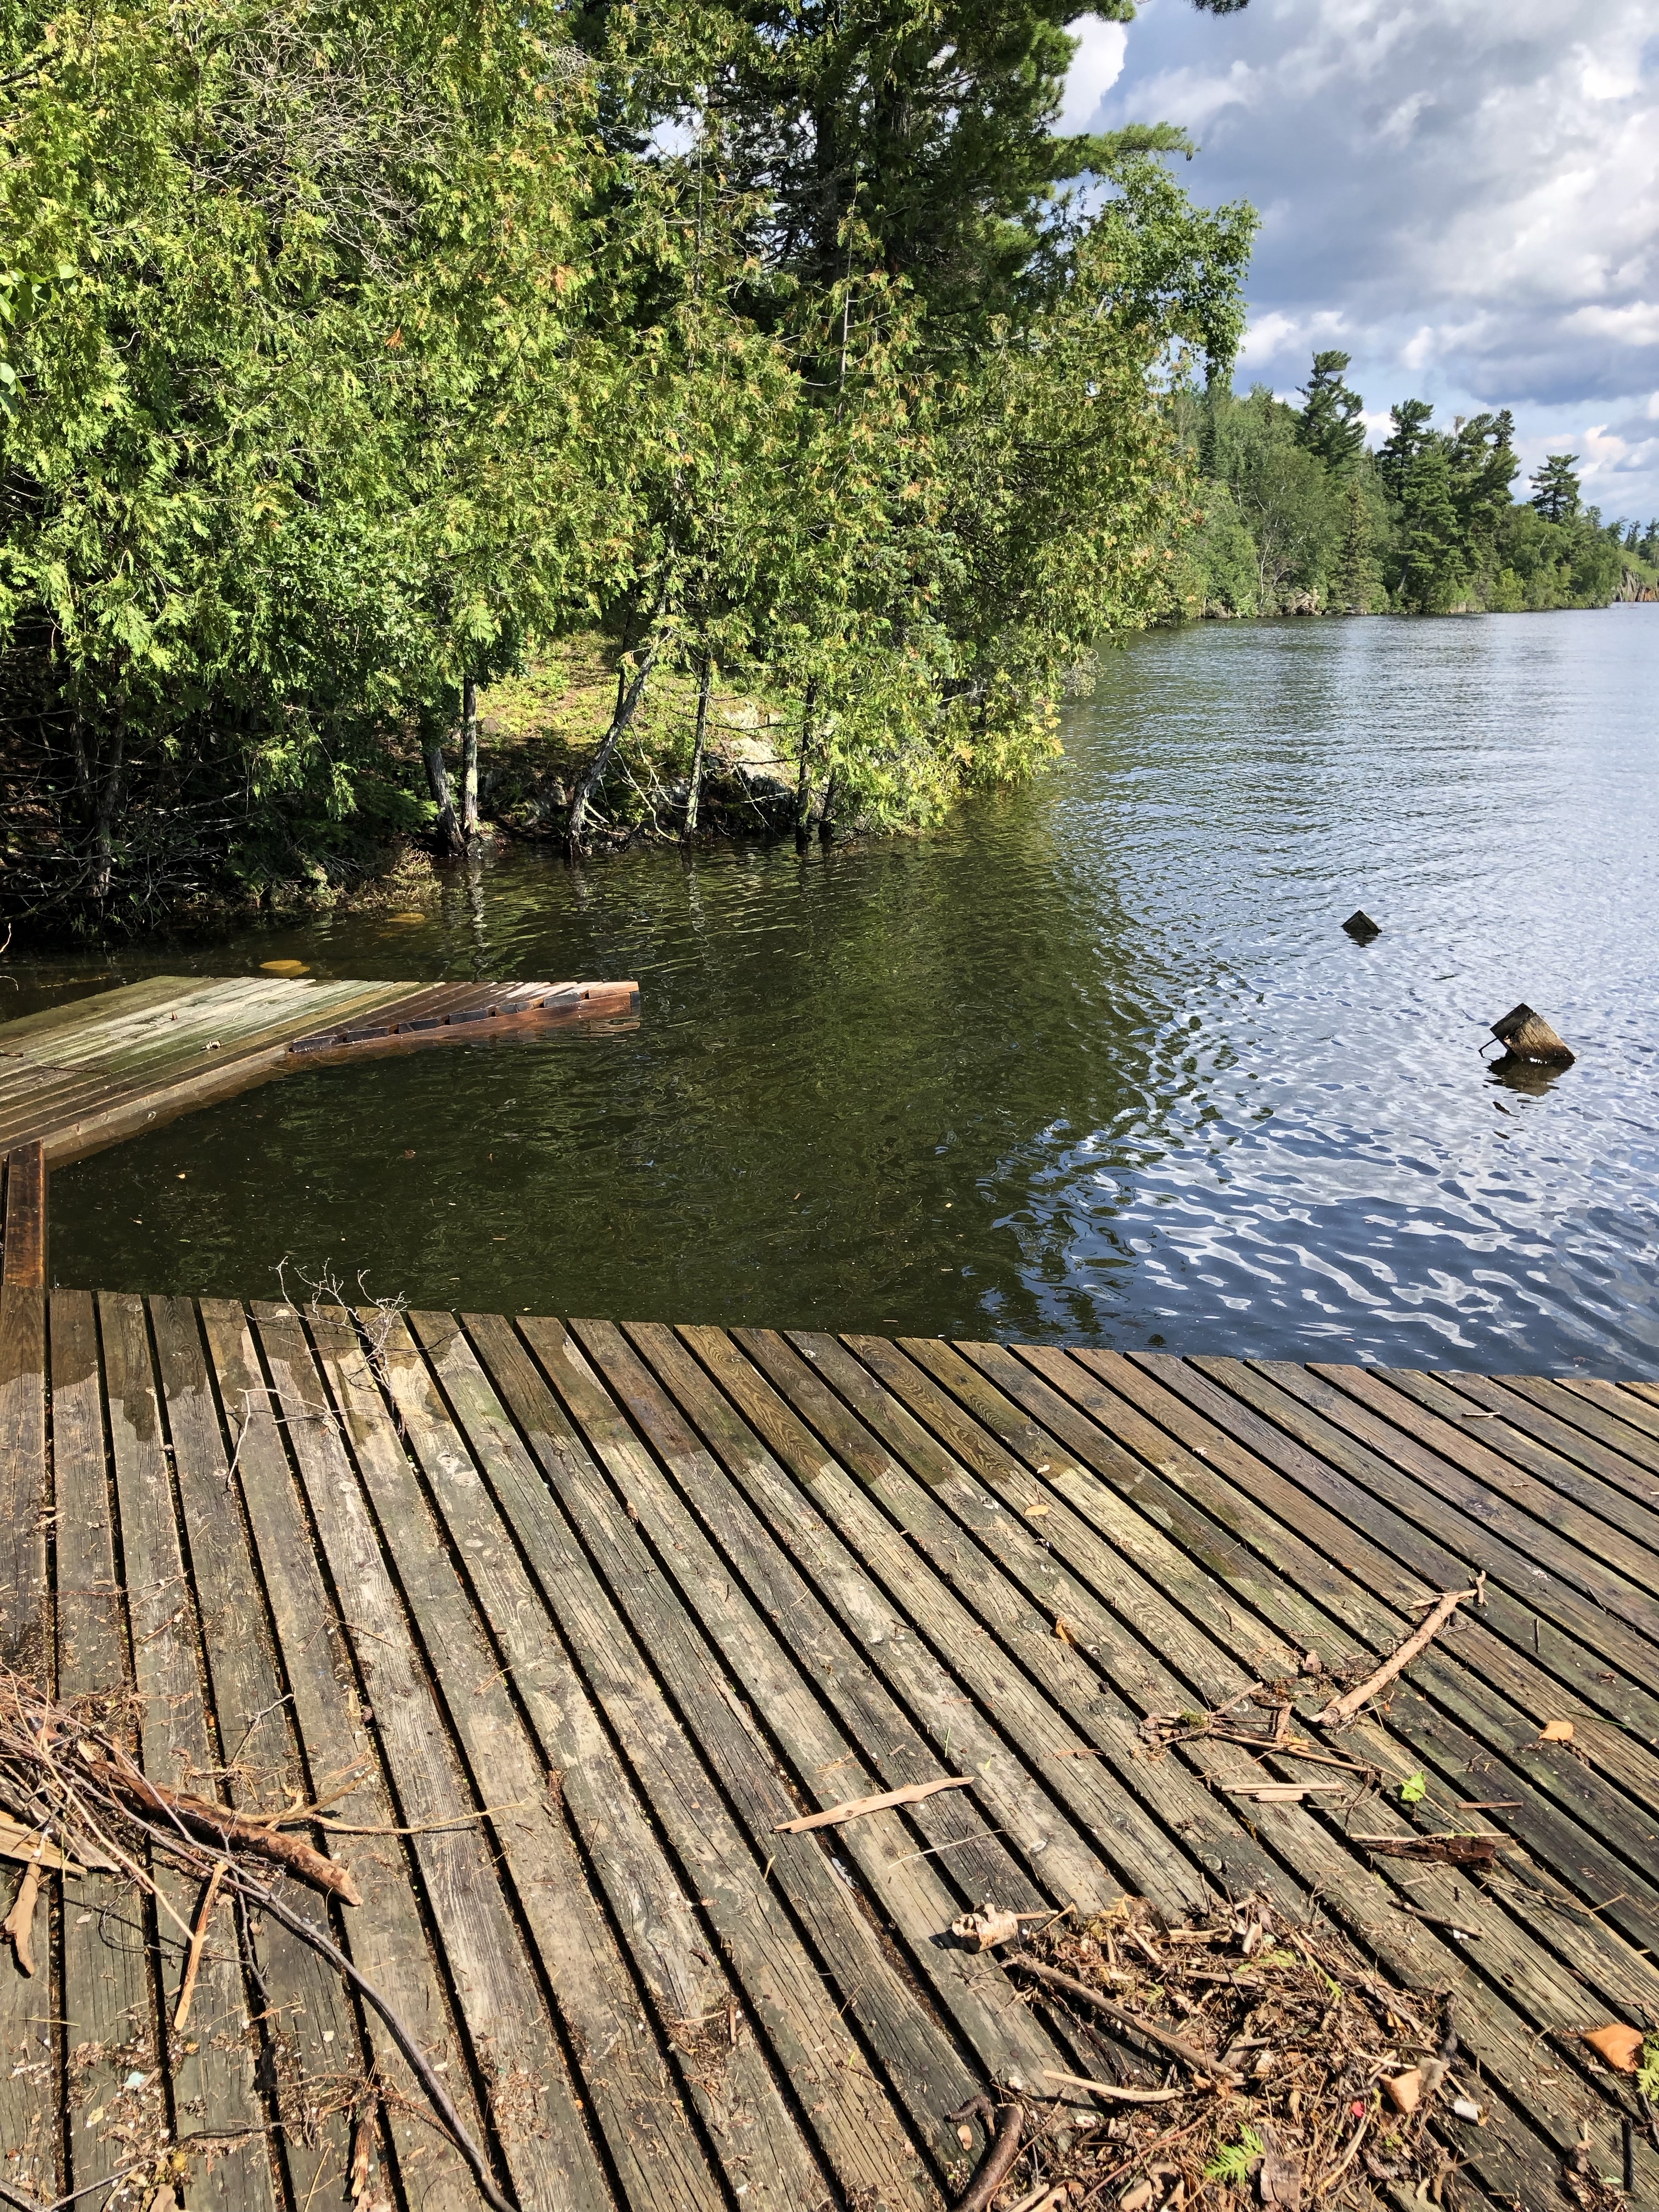
    Since the lake level can fluctuate up to 6’ the dock could be under water or high and dry with a big drop from the dock top to the water. This prompted what came to be known as the swim platform. The swim platform was a wedge of deck that was cantilevered part way down the original remaking crib of railroad ties. This provided a place where our young family could climb down to the swim platform and jump into the lake or launch on the kneeboard without a huge drop into the water. Also, for the older crowd, a good seat from which to dangle you feet into the lake. A ladder was built and attached to the top of the dock and the swim platform to climb more easily out of the lake.

    The next dock expansion was to replace Crib #2 and expand the dock. Crib #3 never did get any action and is still siting there under the water half decomposed.

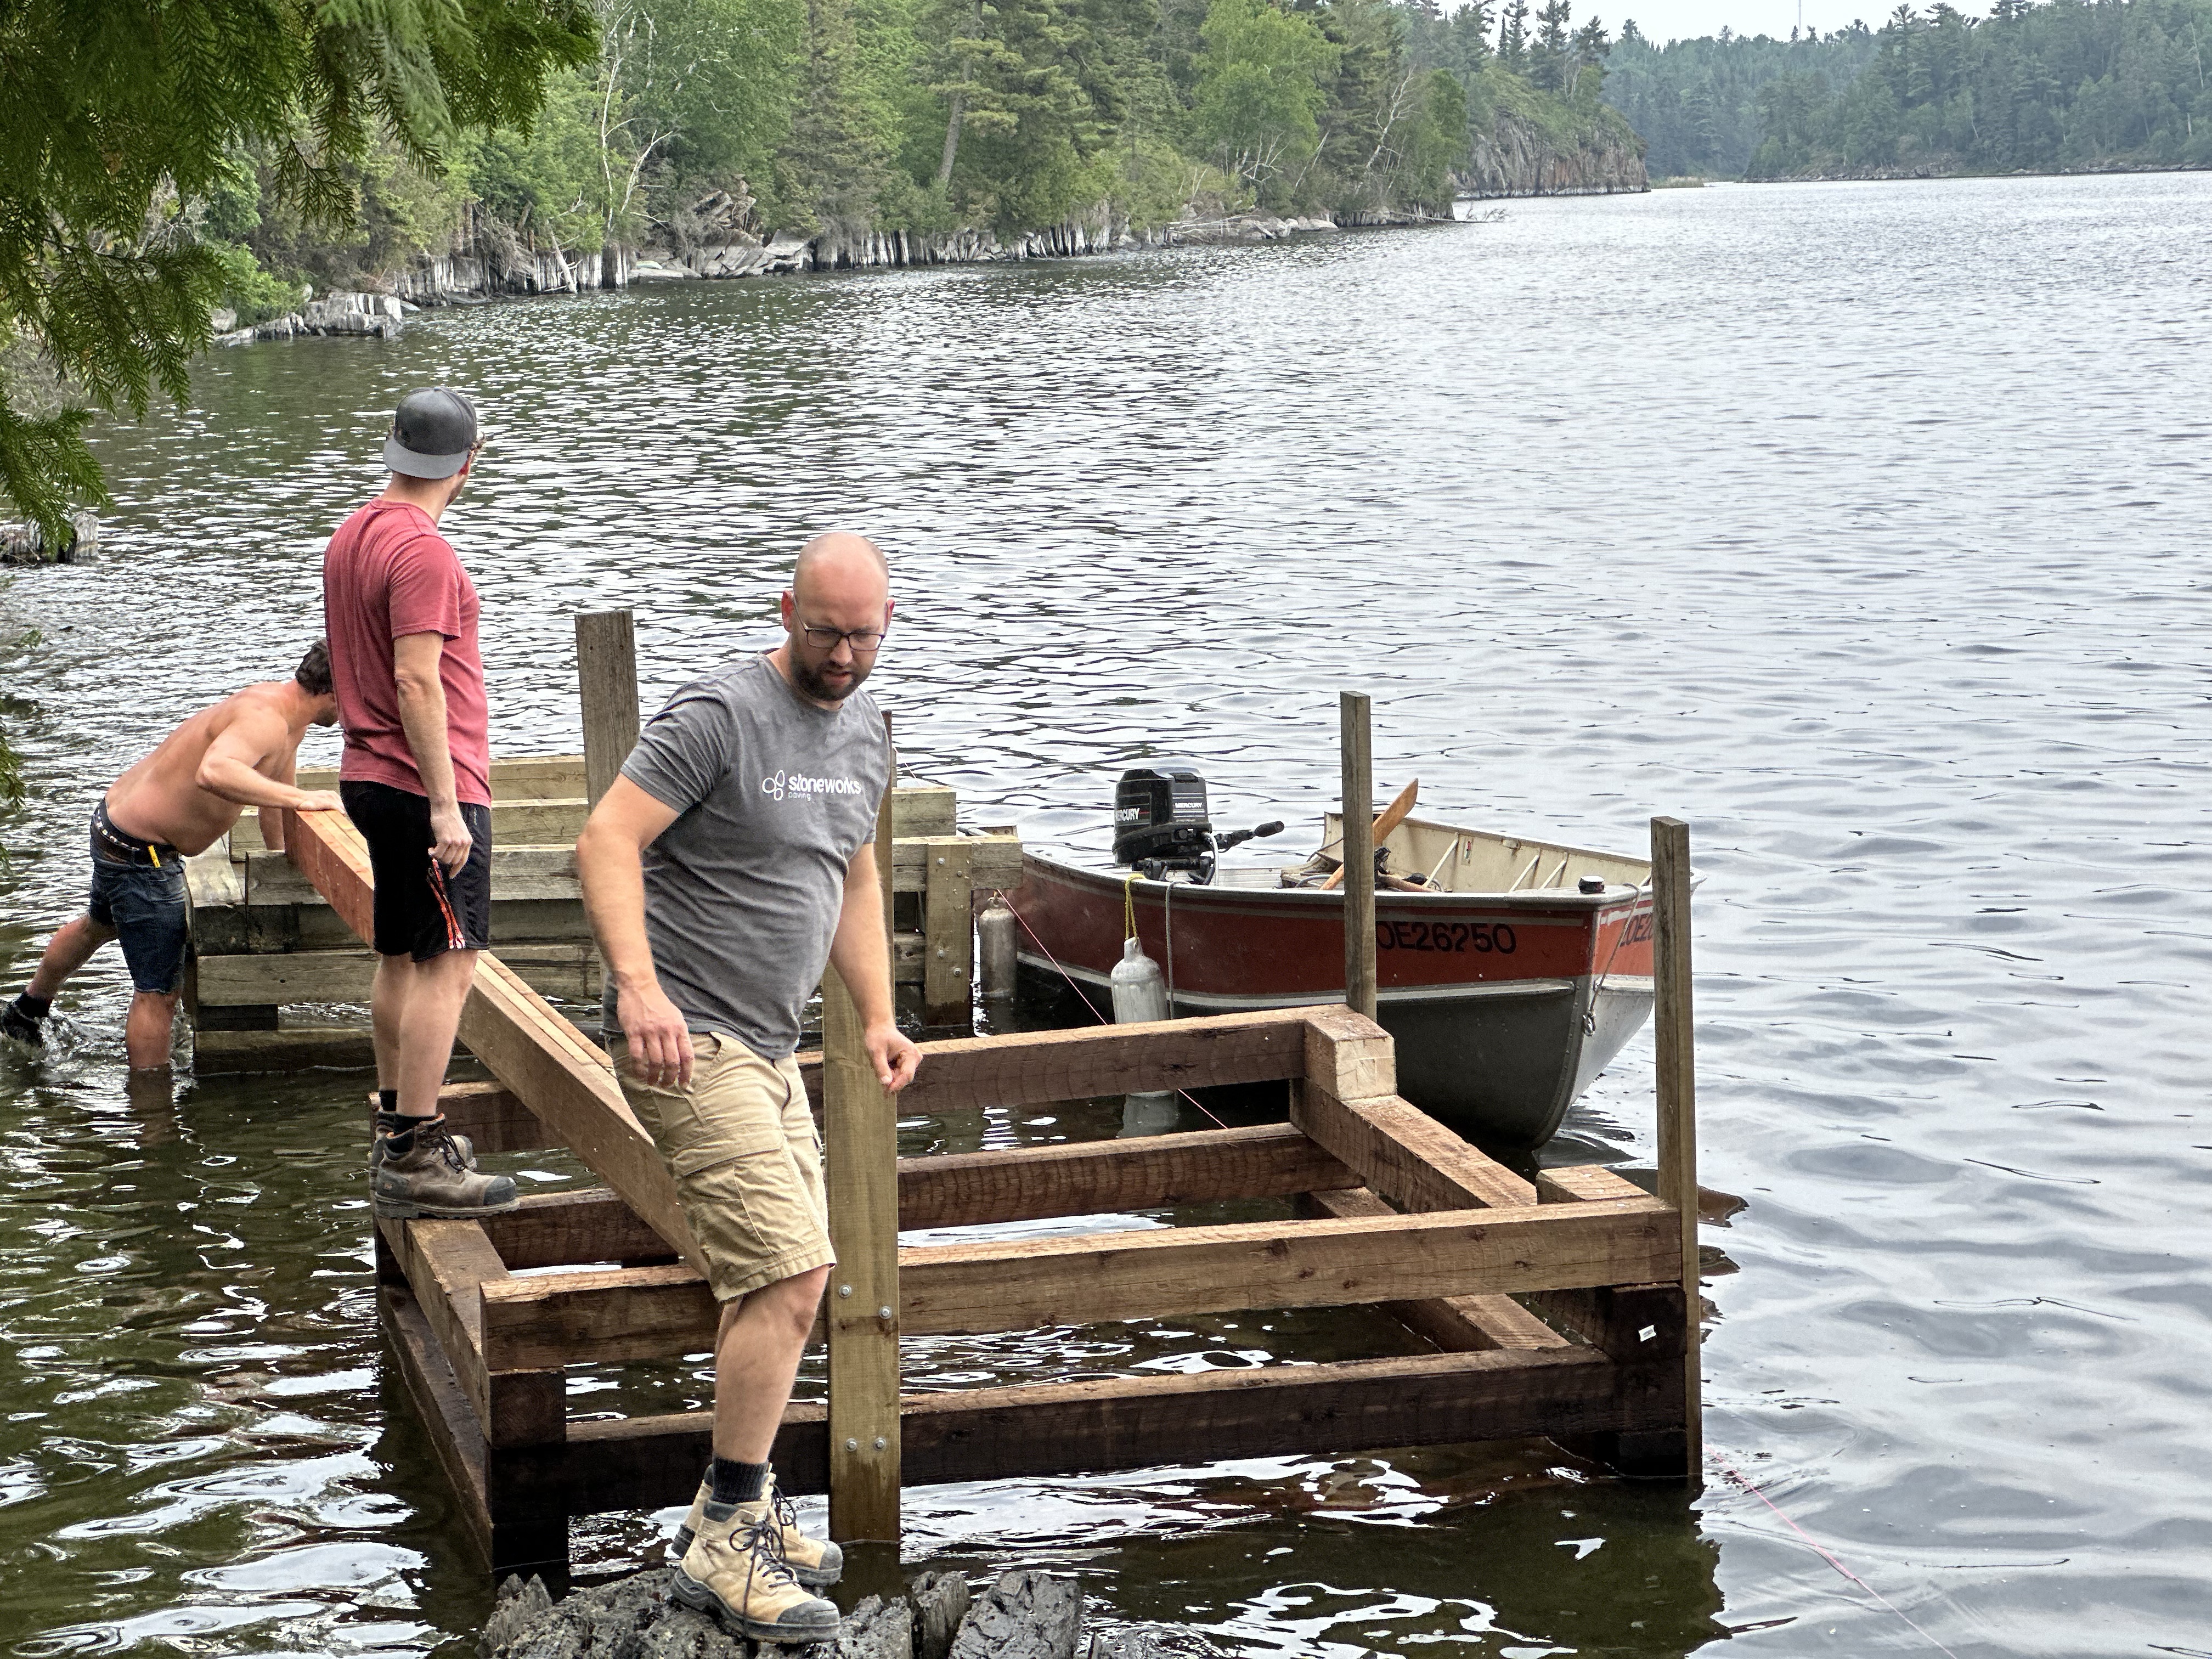
    Much like what is happening now with Eric & I, I proposed this expansion to my Dad and he financed the project and I executed the work. The difference now is the dock/deck is much larger, all on one level with a more sophisticated solid build high enough to withstand very high water levels ?.

    This expansion saw a 20’ x 8’ deck on beams from Crib #2 to the shore, then a 4’ x 10’ piece which then connected back to Crib #1 forming a horseshoe shape for a boat. Some years that worked, most years not, due to low water levels. Too low even for the 16’ aluminum Lund. From the horseshoe over to the 8’ wide section in front of the “boathouse” was decked and provided a decent sitting area. It retained this design until the high water levels of 2022 which with all the wave & wake action pretty much tore most of that apart.

    Floating Docks

    Over the intervening years we “acquire” a pair of 8’ x 16’ floating docks that we rescued from the point. I watched them for a few years and nobody came to claim them so one weekend Eric, Len & I pulled them off the point and floated them down to our place. We bought enough styrofoam billets to float the worst of the 2 and we’re in business with two floating docks for about $300.

    For several years one of them was a swim platform anchored off shore which had a nasty habit of escaping the anchor, necessitating retrieval and several more attempts at a better anchoring systems. I enjoyed it and seemed to be the primary user. A boarding ladder was attached, night lights so nobody hit the thing in the dark, carpet and a deck chair. On a wavy day the deck chair was quite a ride, on calm days, an excellent relaxation and suntanning spot.

    Floating dock #2 was fastened by a rope system to the fixed dock to allow for some up & down movement and became a launch pad closer to the water level for the kayaks and canoe.

    These docks were using old school styrofoam floats that had a habit of breaking up into foam beads if they rubbed on anything, which they did, and made quite a mess, also somewhat environmentally unfriendly. So one year all of the flotation was removed from one of the docks rendering it useless. This happened all without any discussion and no plans on how to make the dock float again. ?. I can’t seem to remember what happened in the end to this dock. I think it was disassembled and taken to the dump by the folks who sank it.

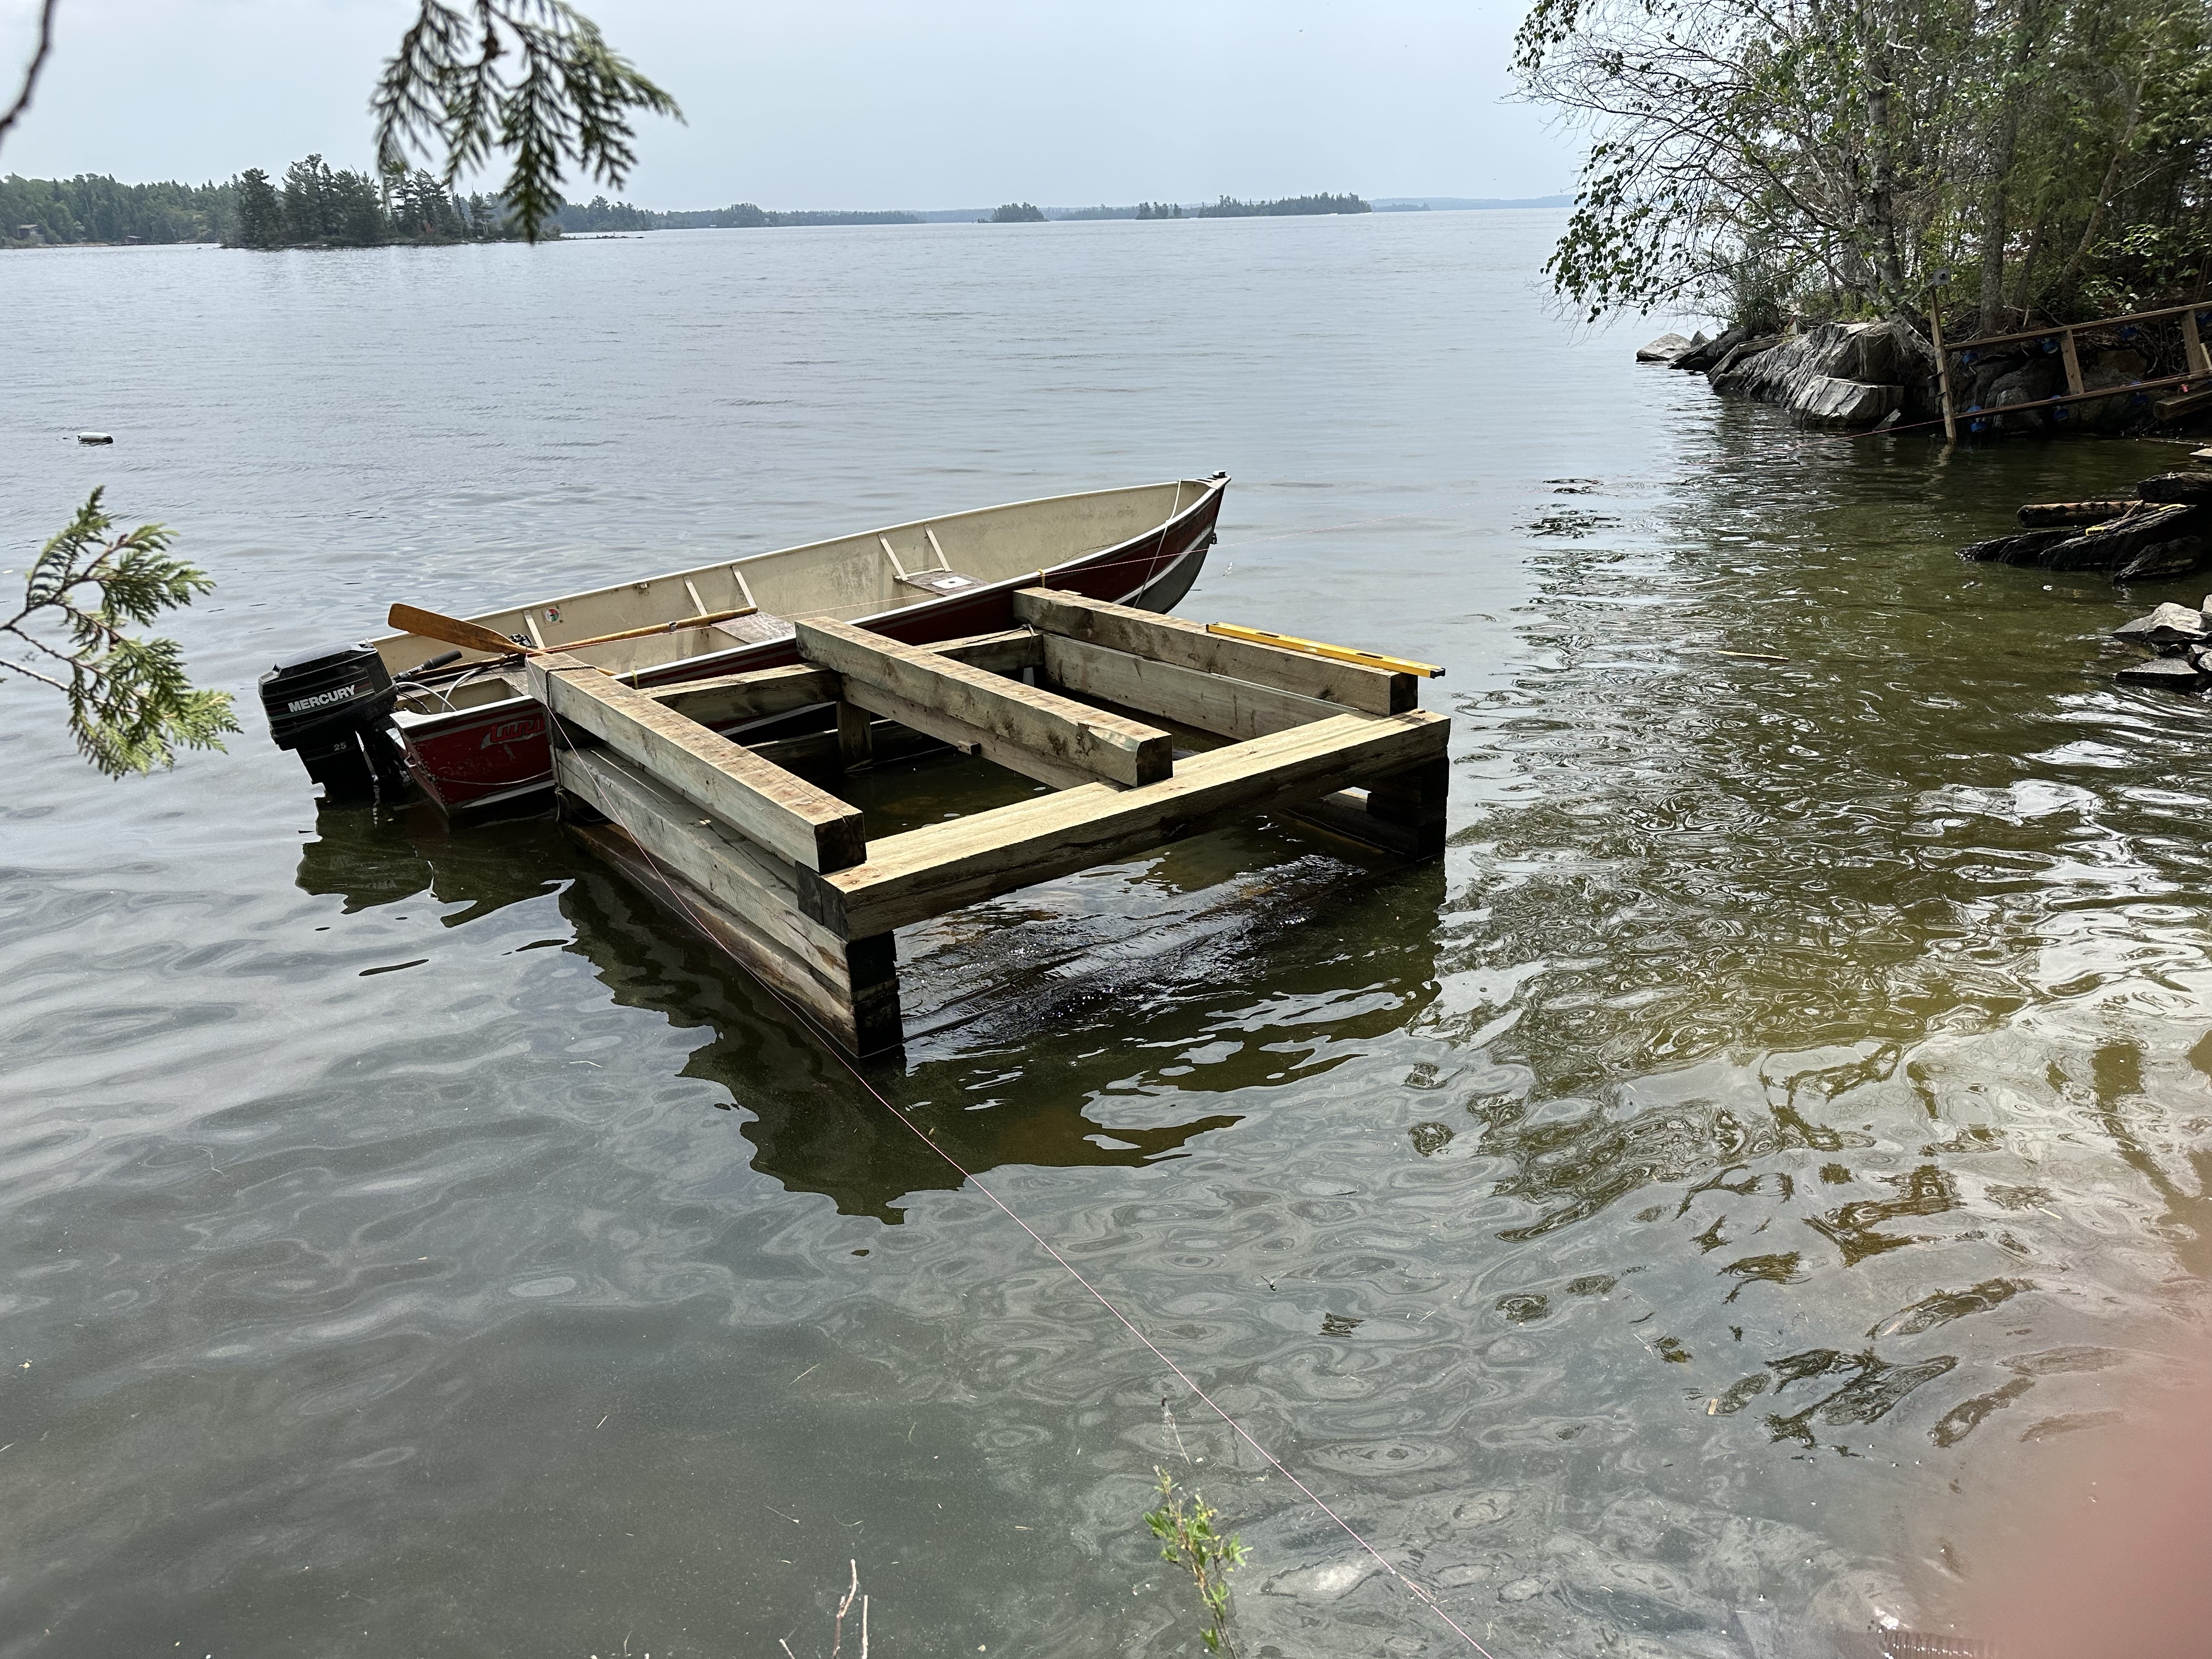
    A few years transpire and the remaining styrofoam dock is looking sad and it’s time for a re-build. Currently environmentally acceptable flotation billets are purchased along with lumber & hardware to attach the billets and we once again have a fairly decent floating dock used for grandkids jumping in and out as well as kayak launching.
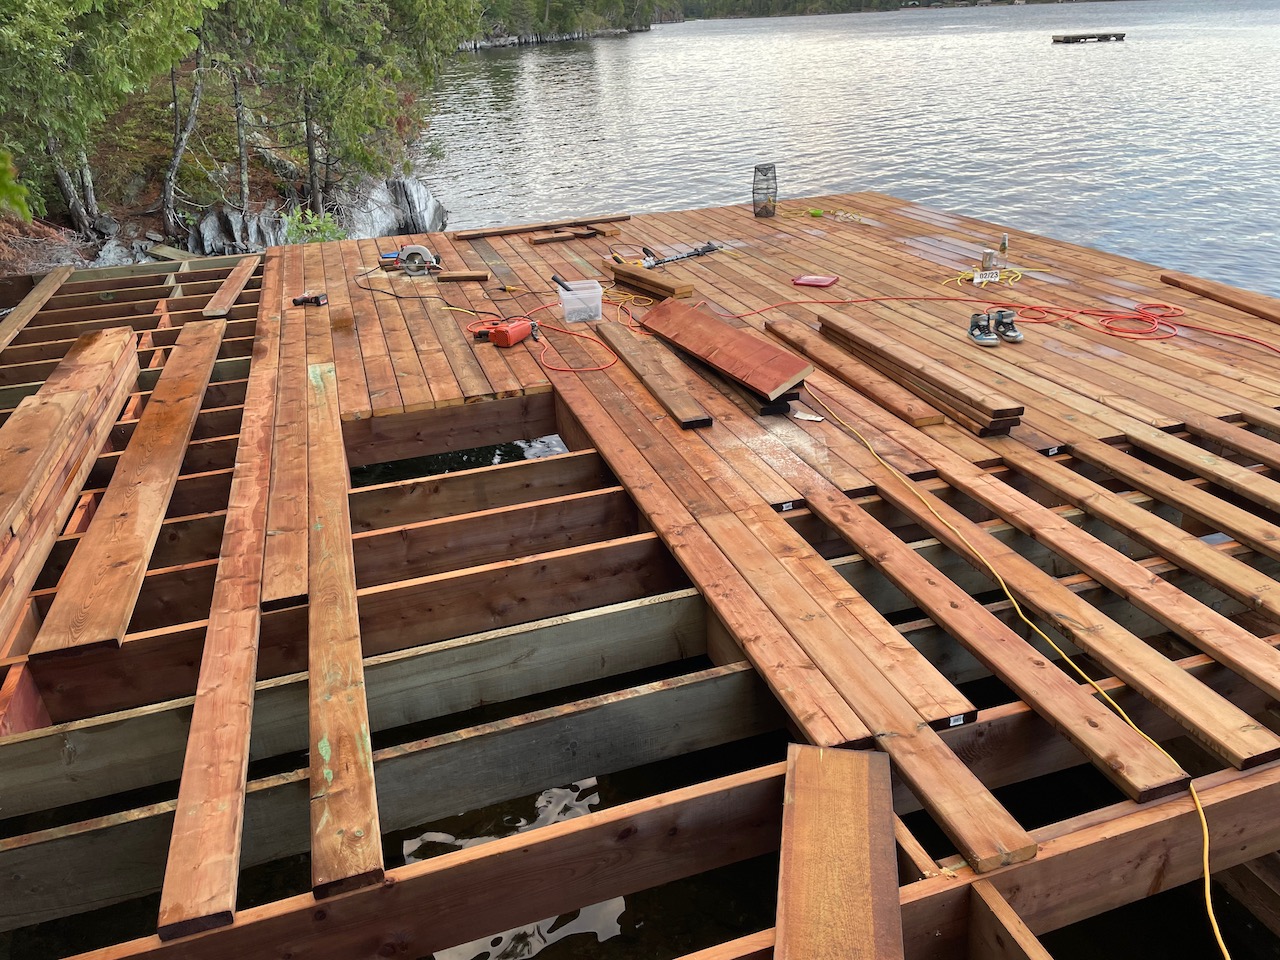
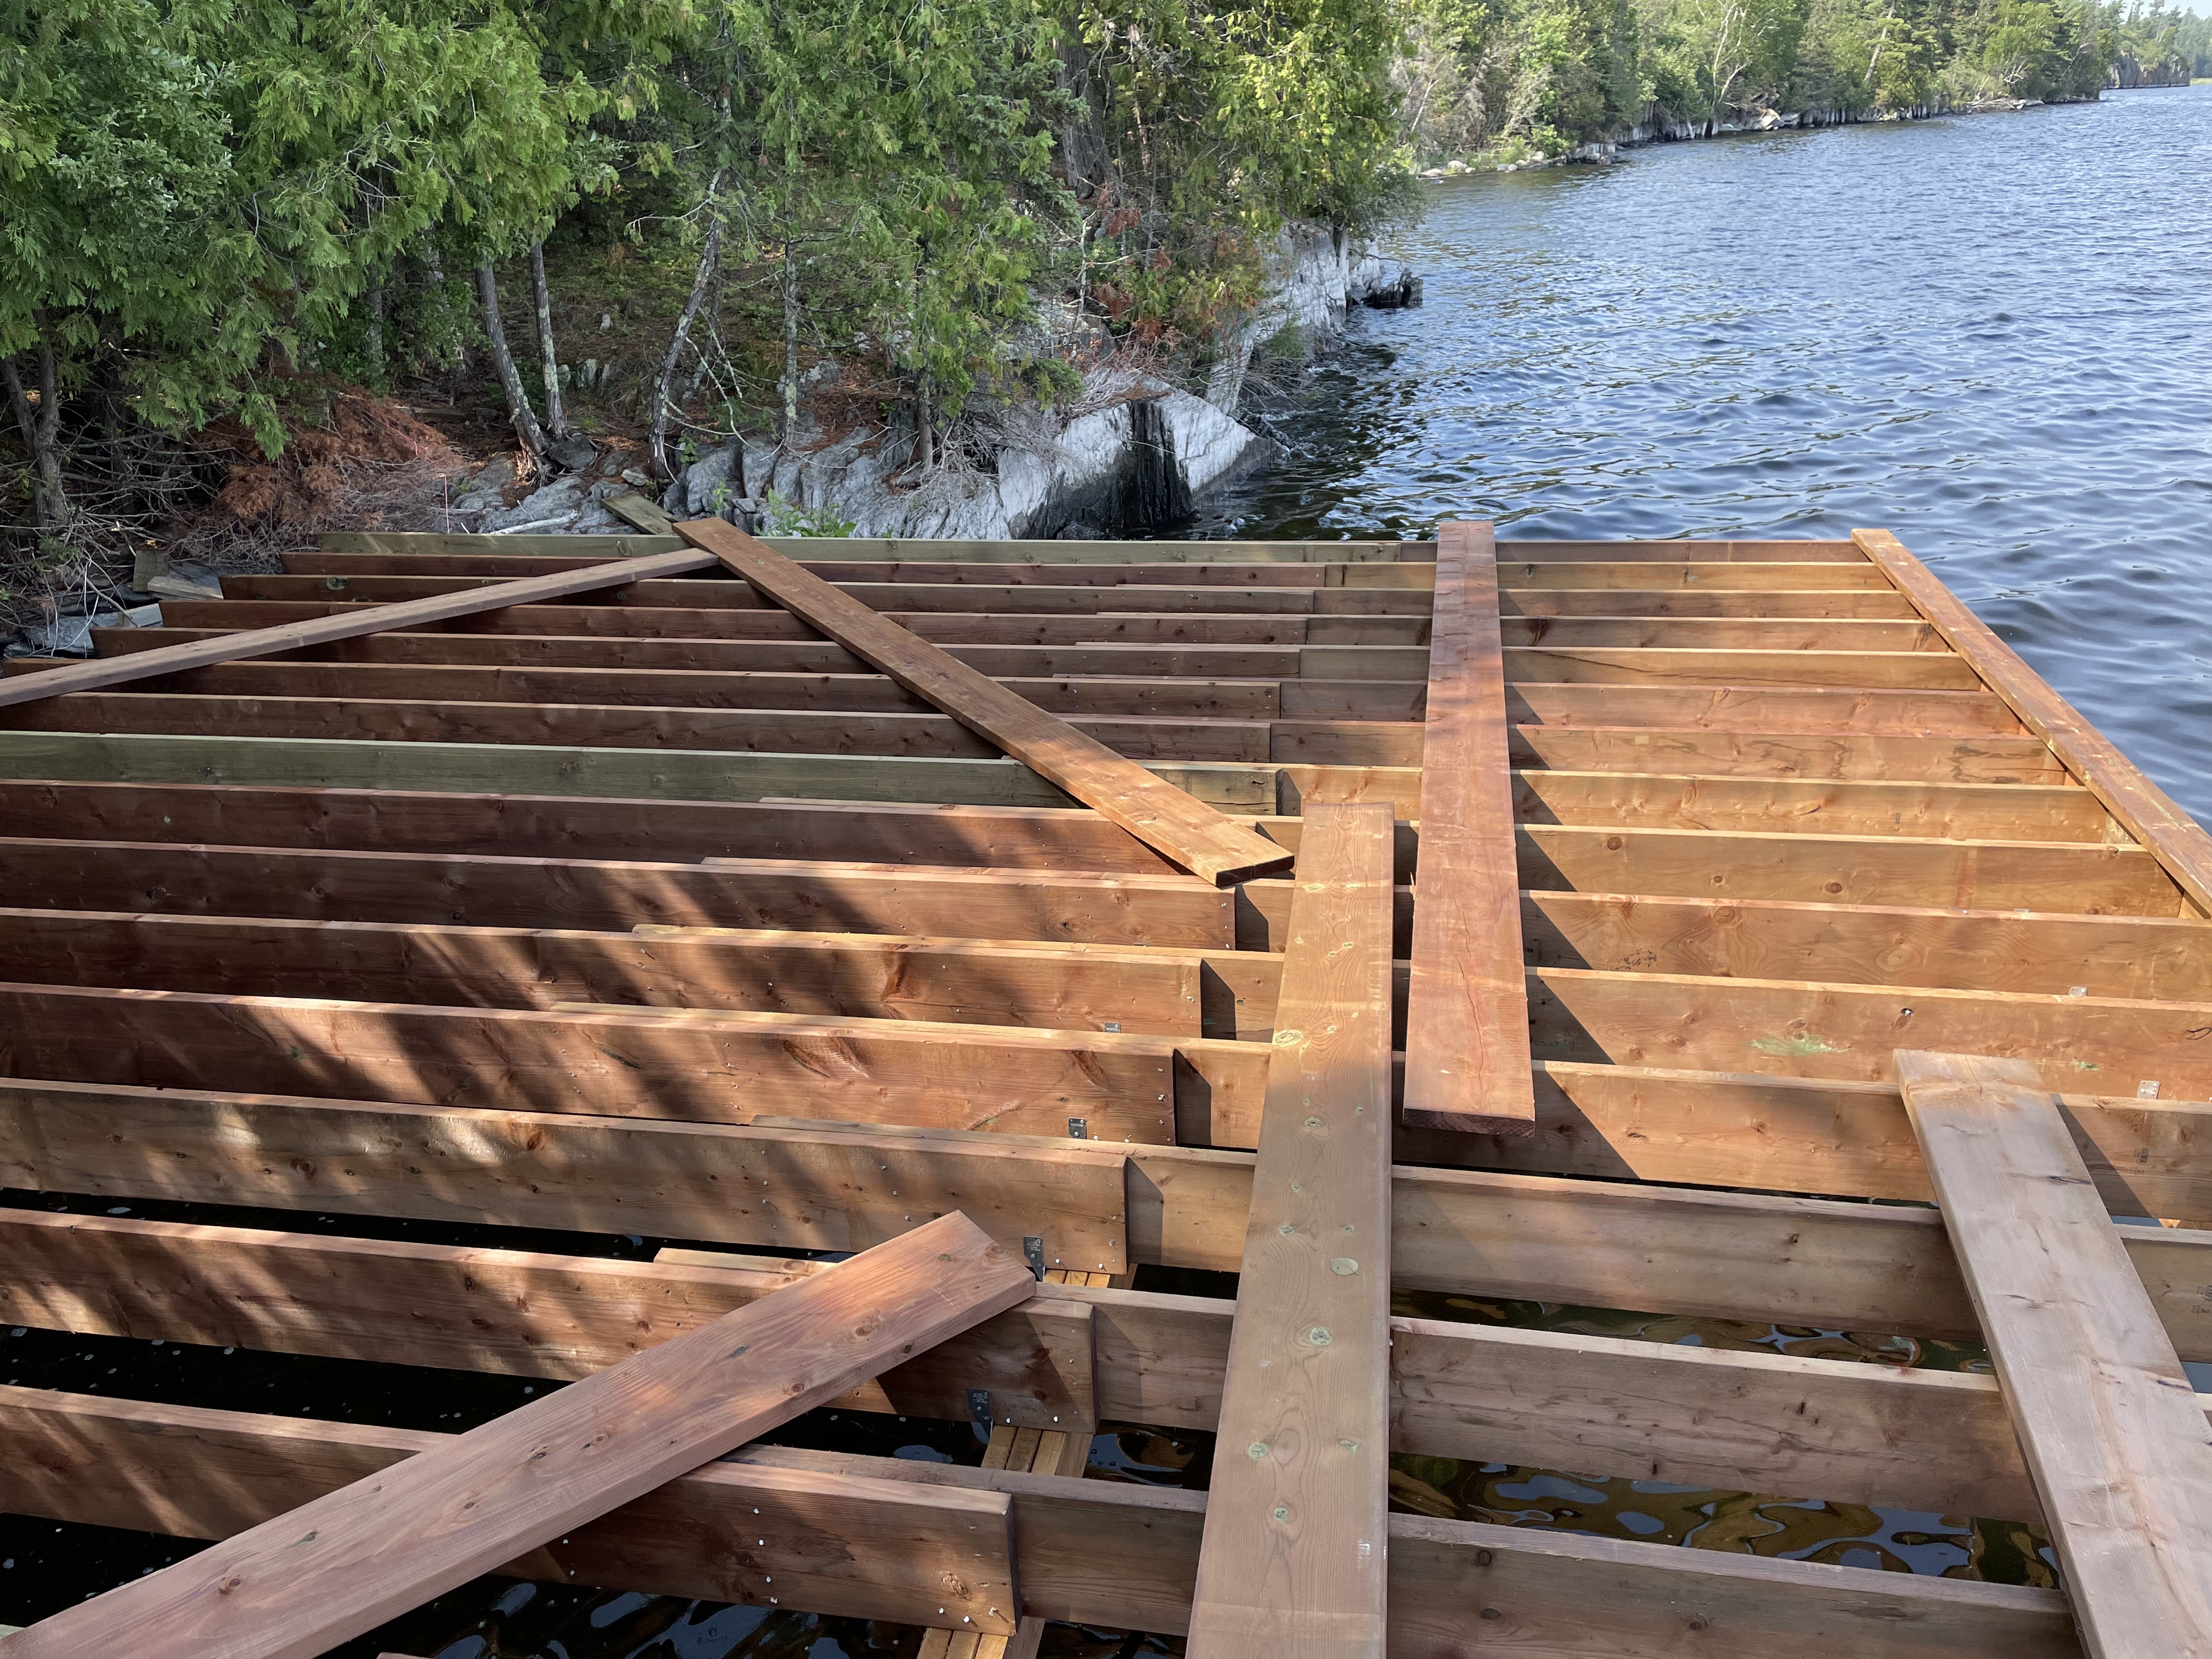
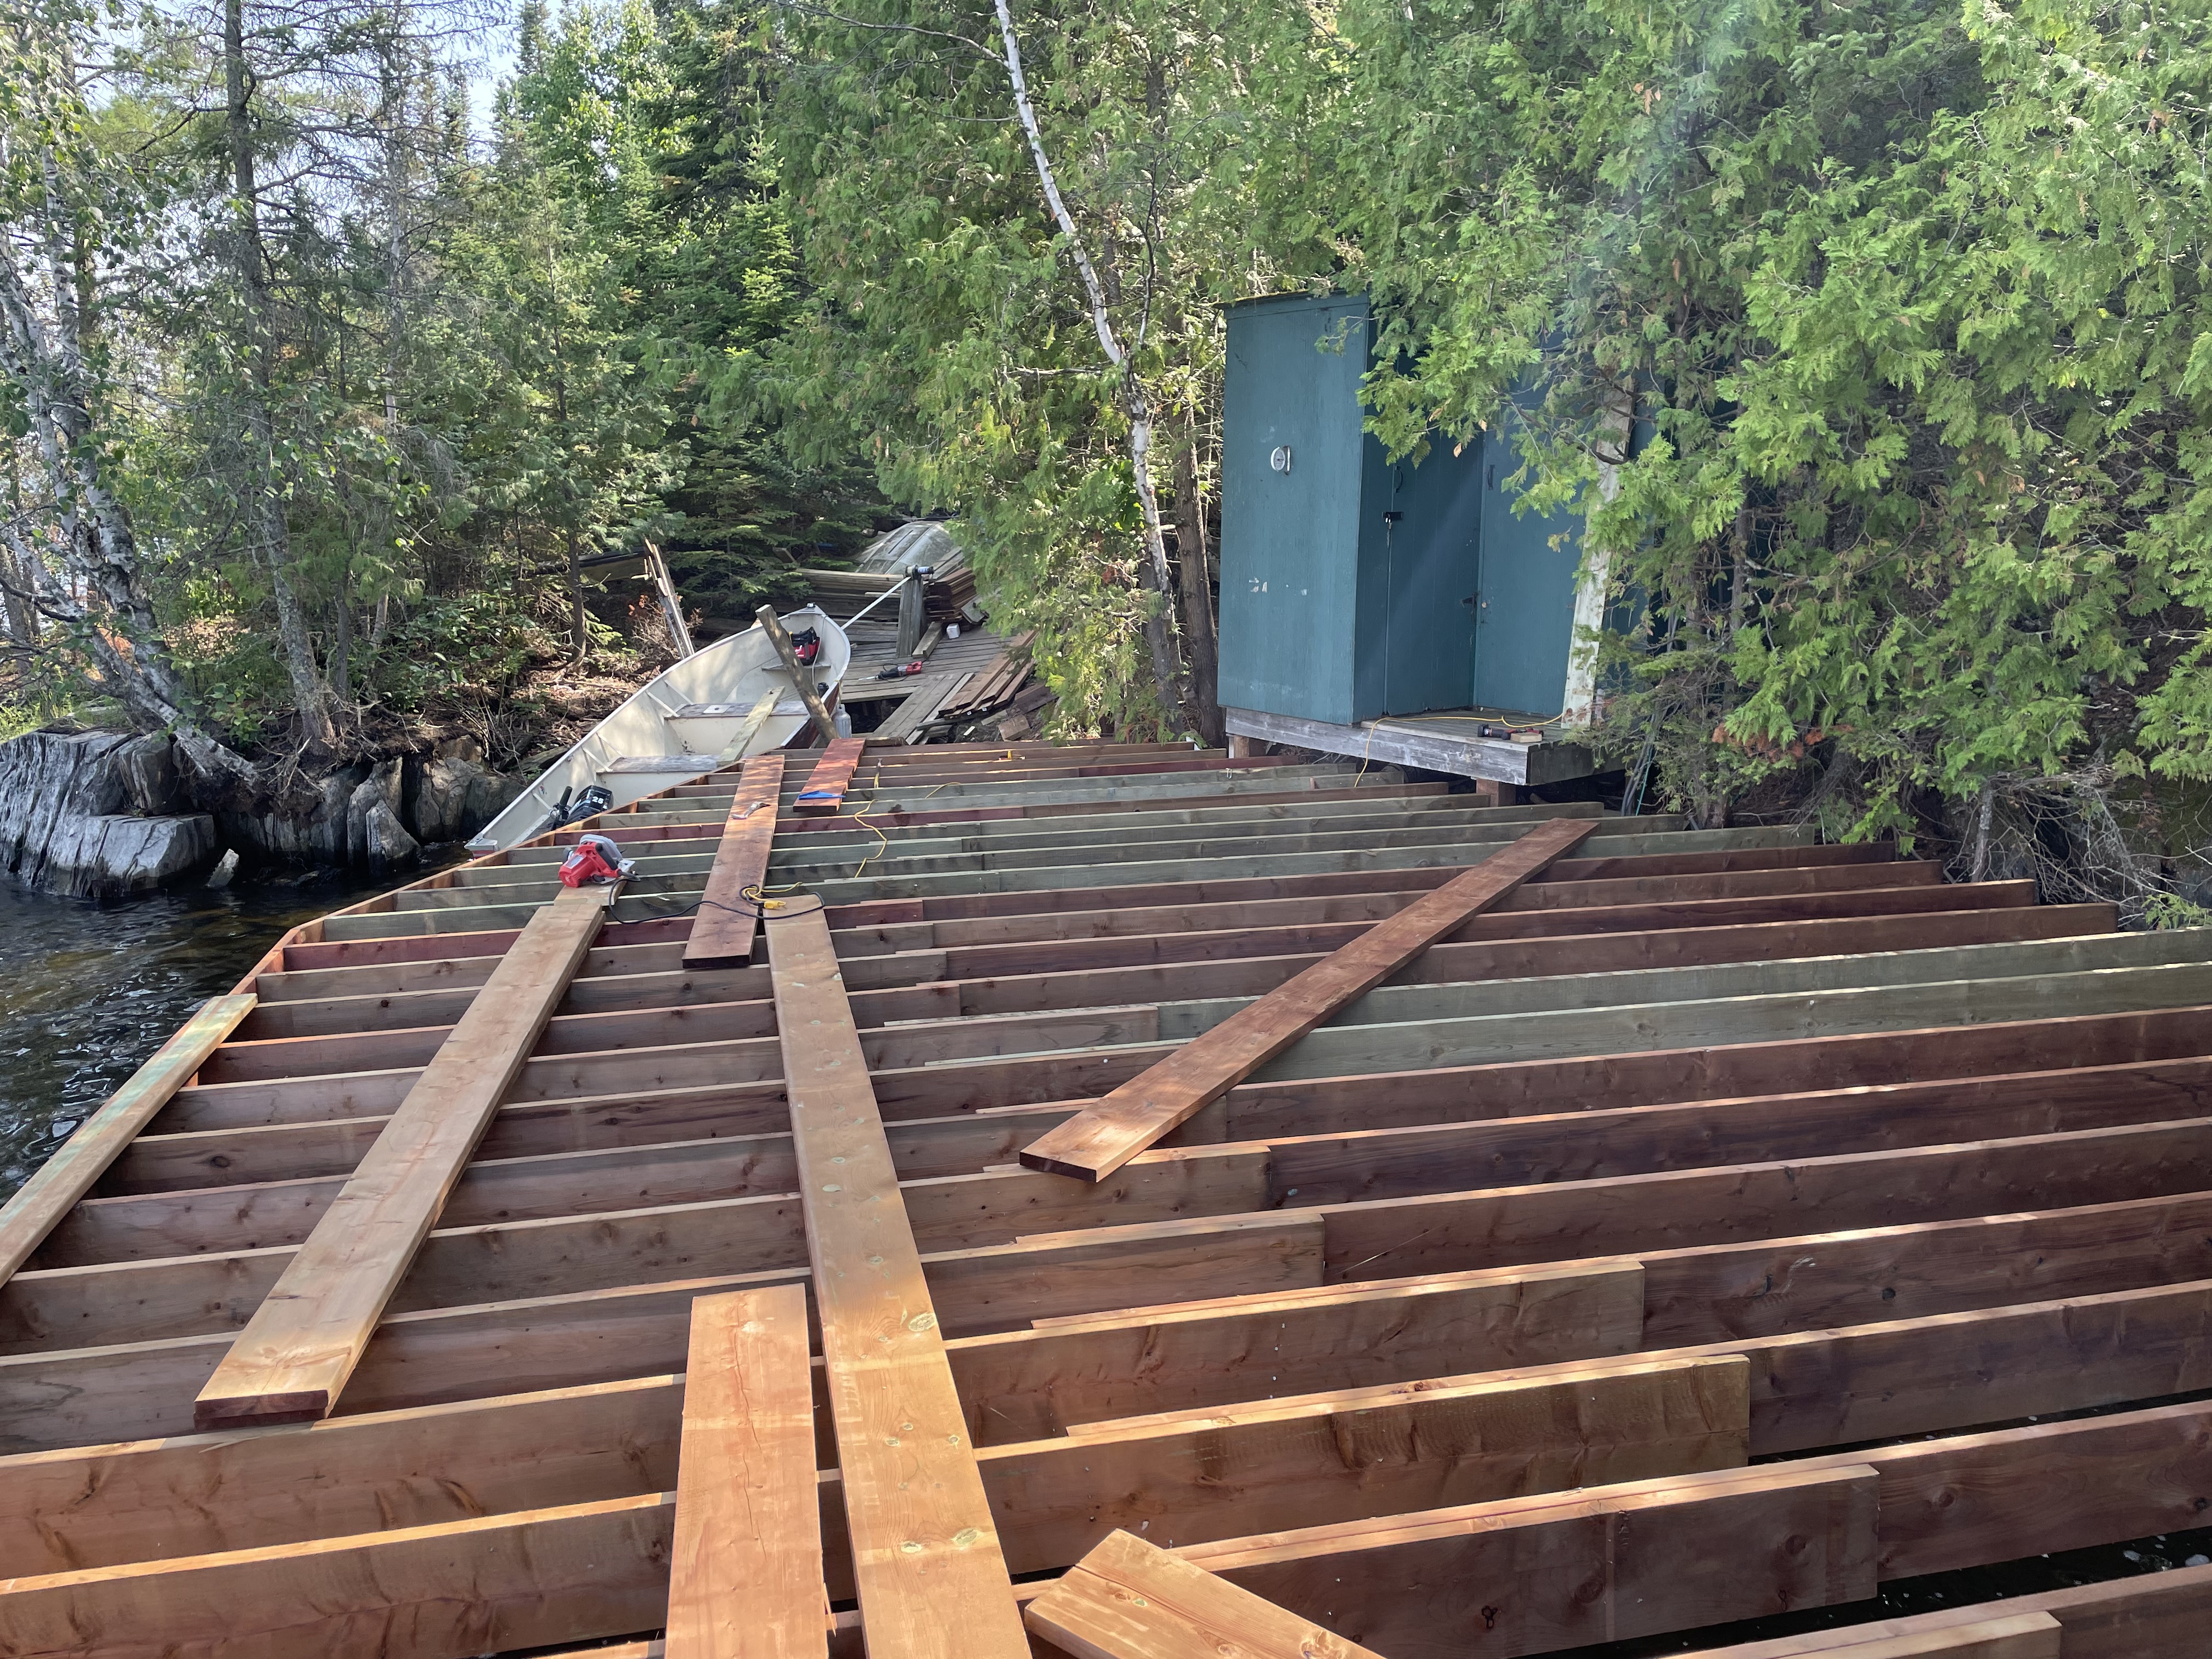
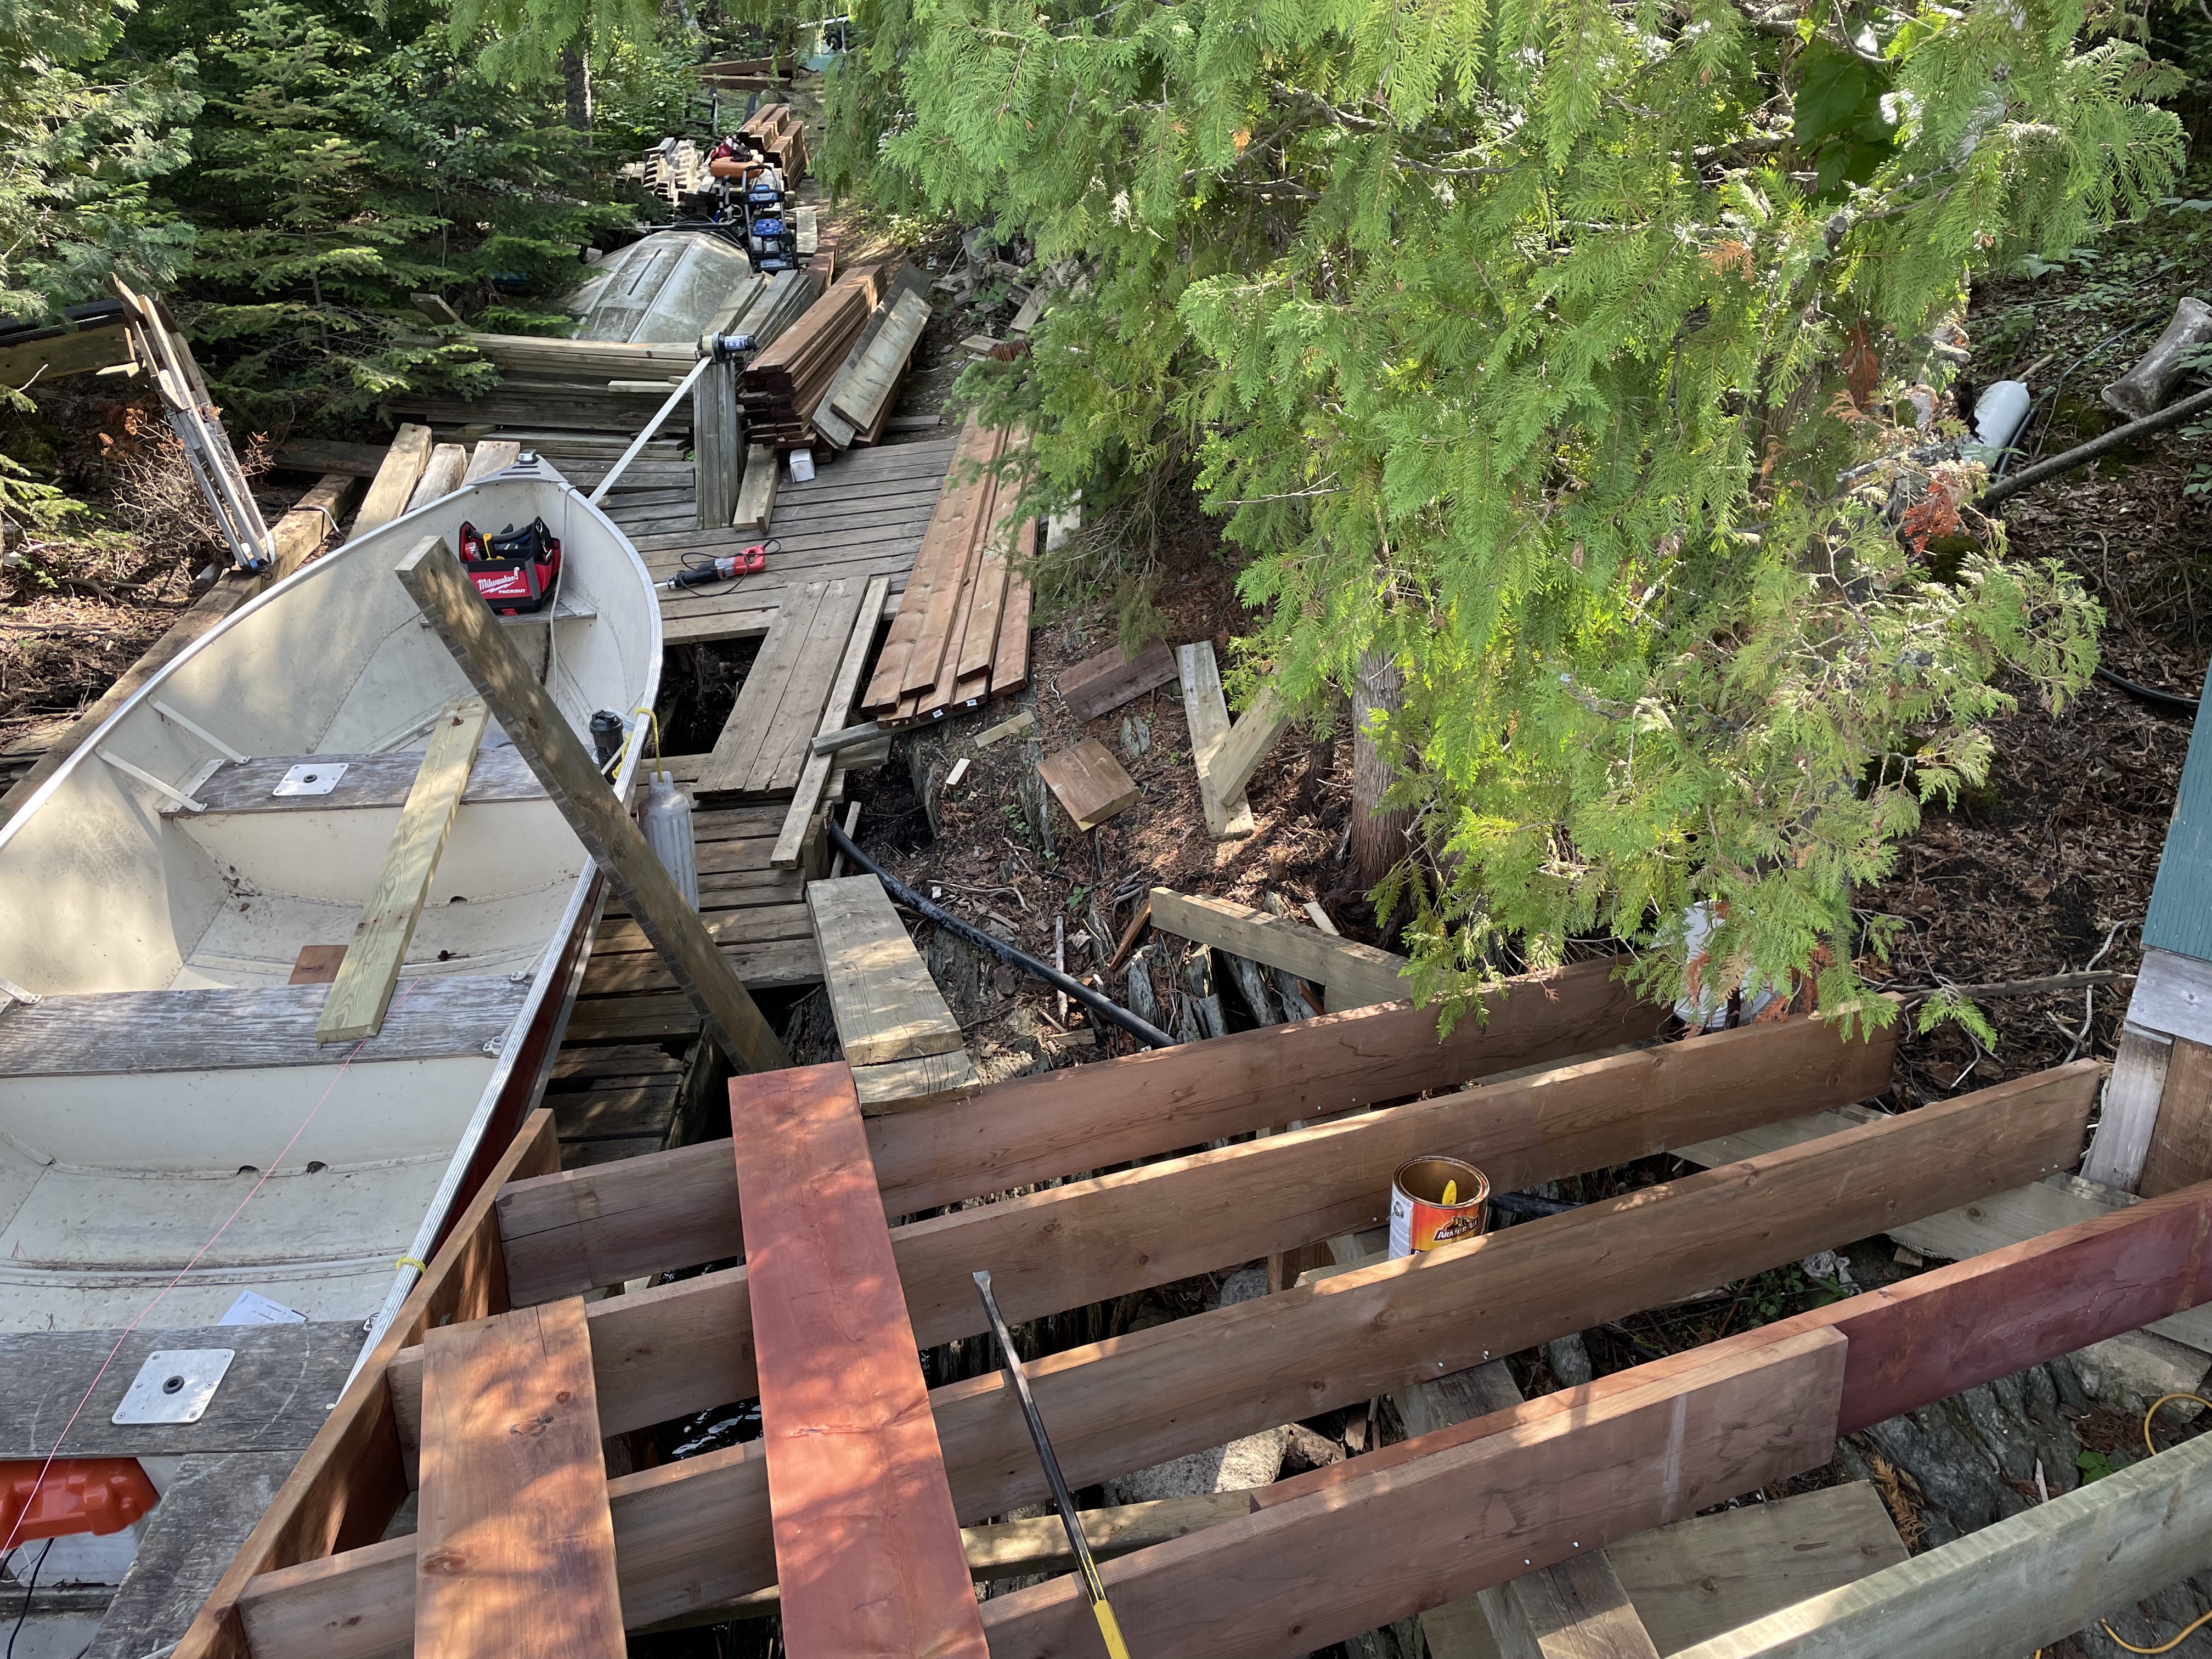
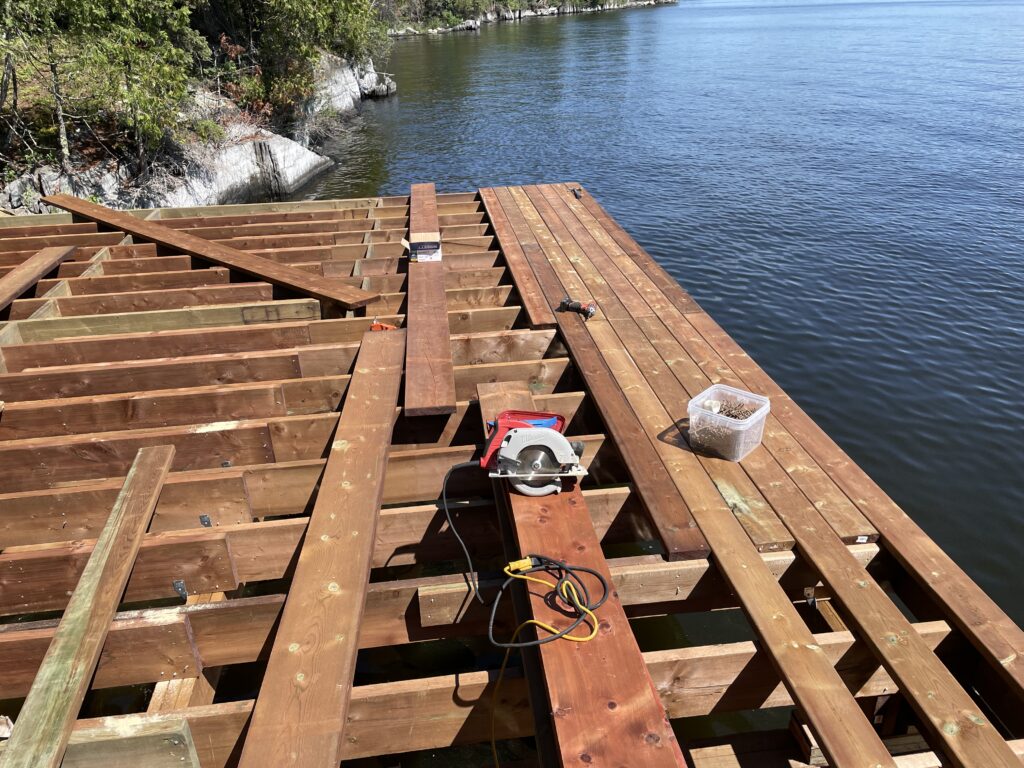
    Ready to go

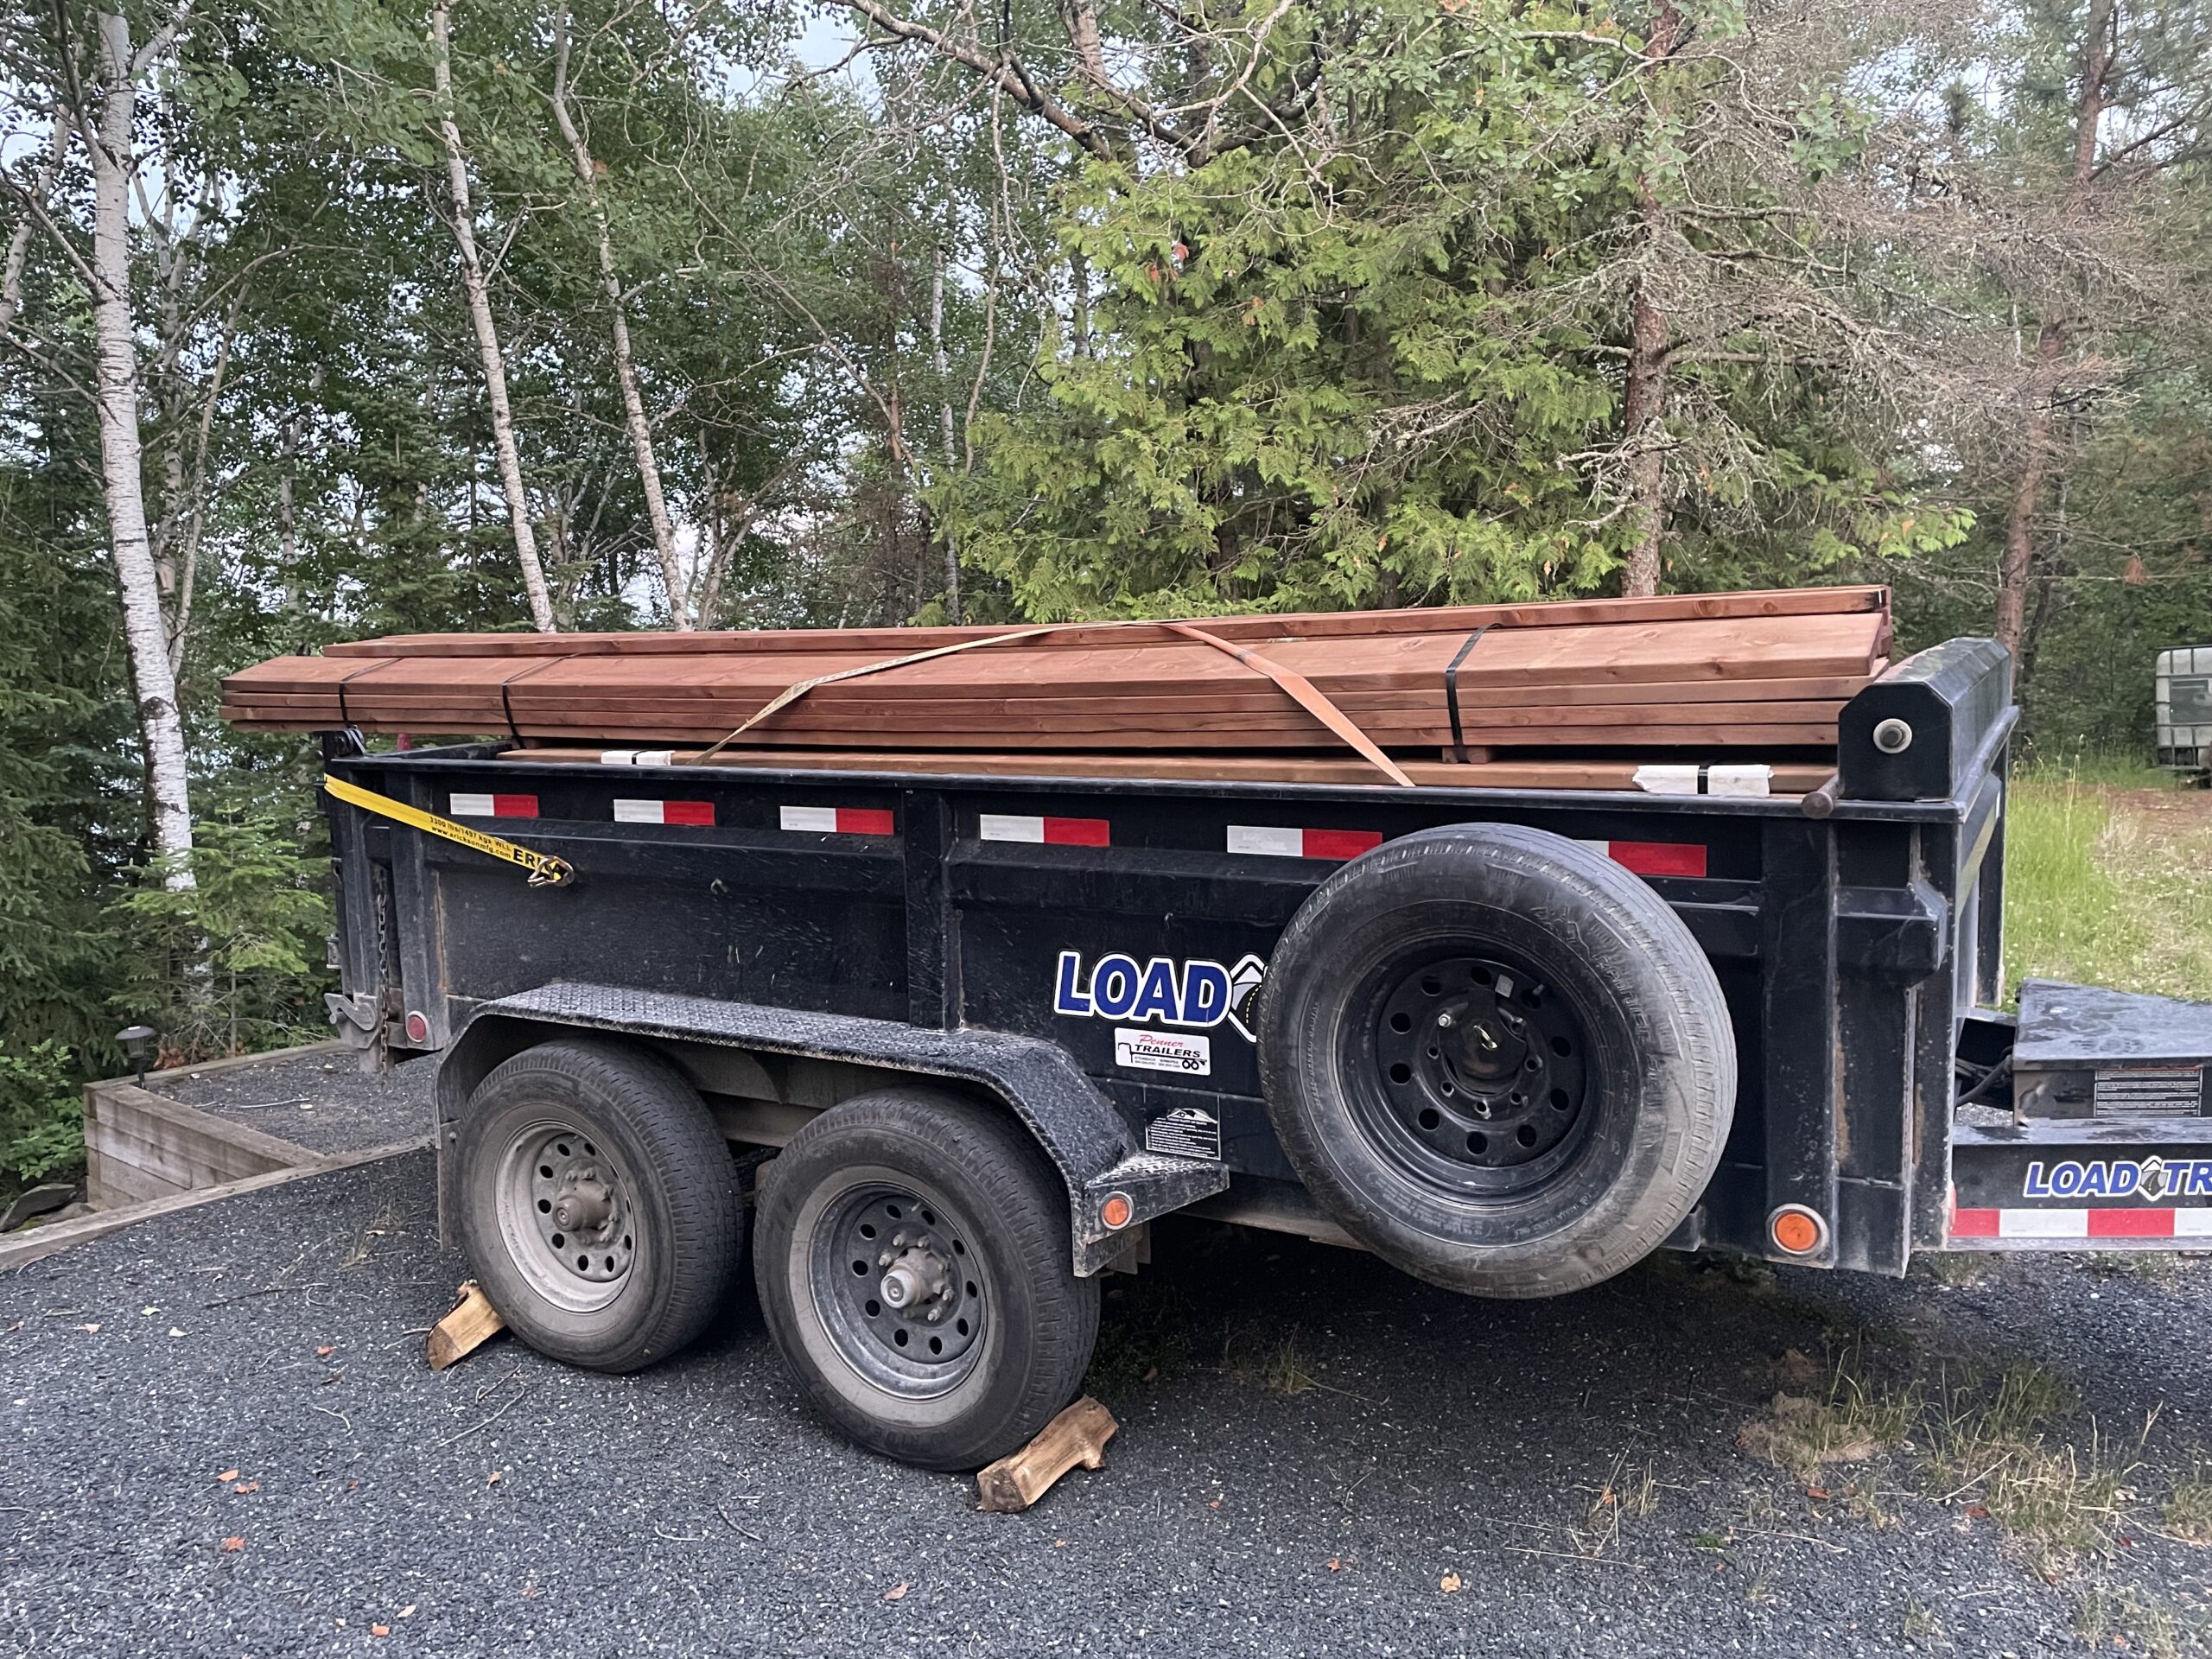
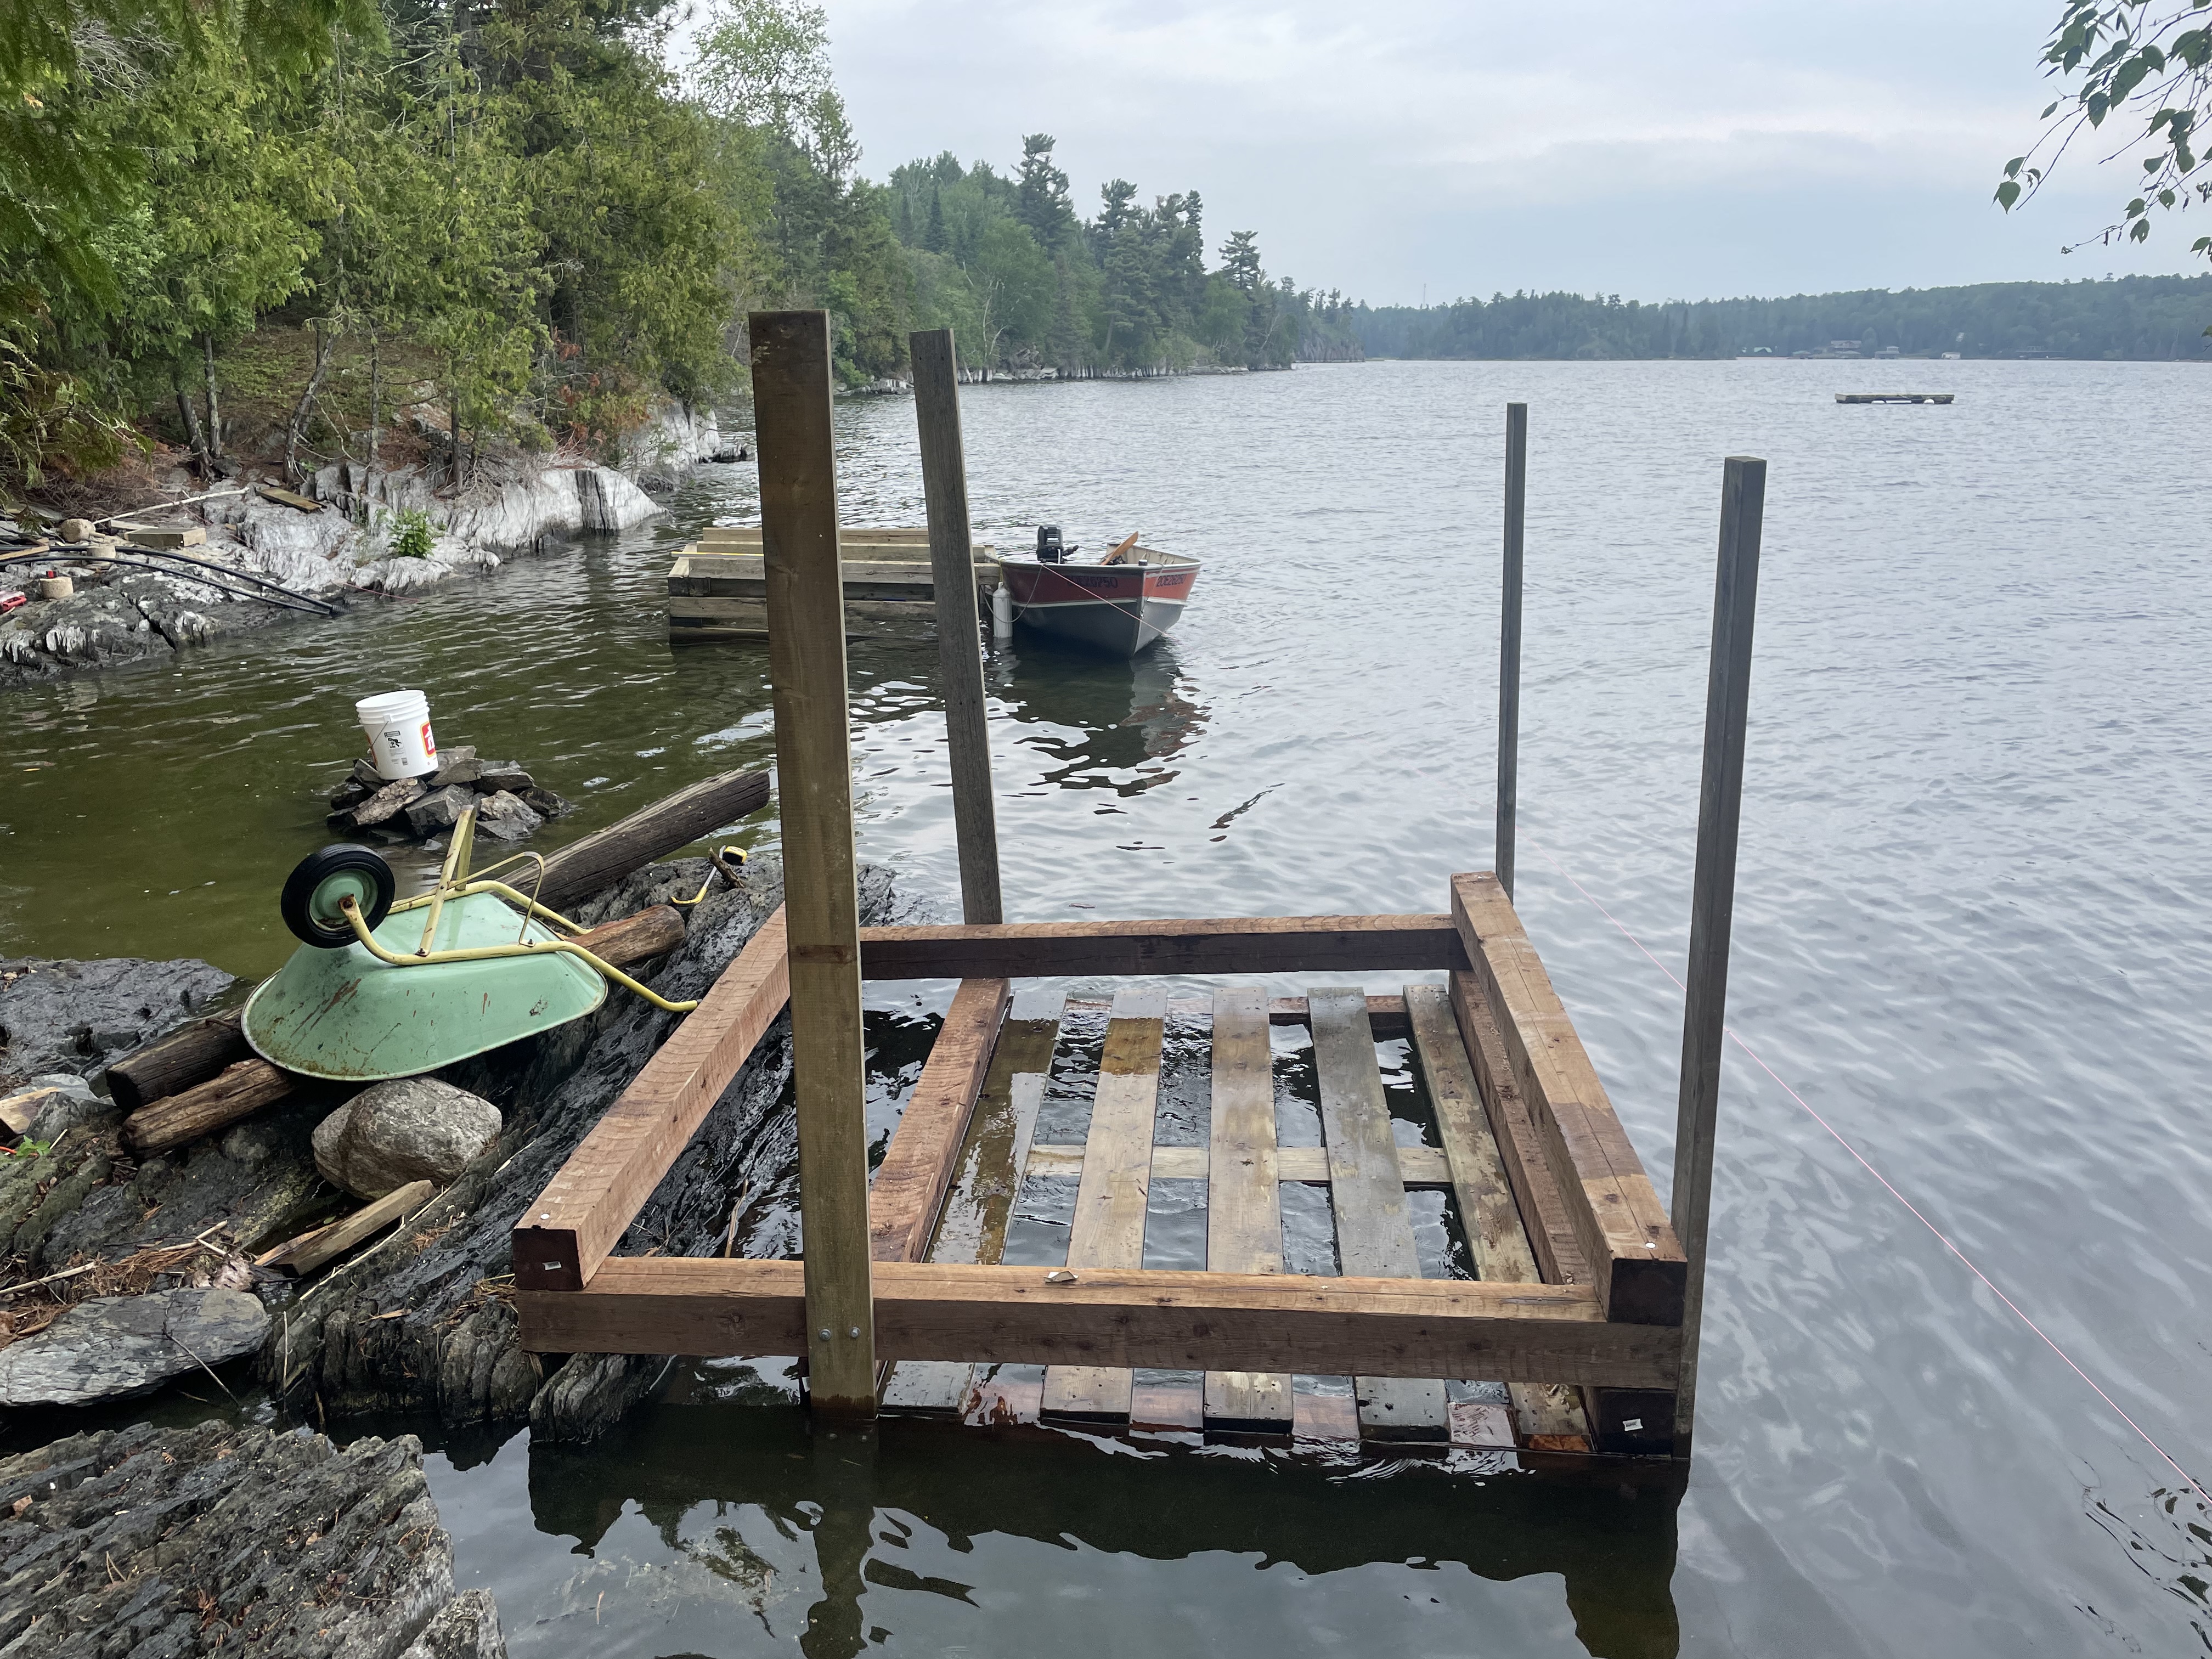
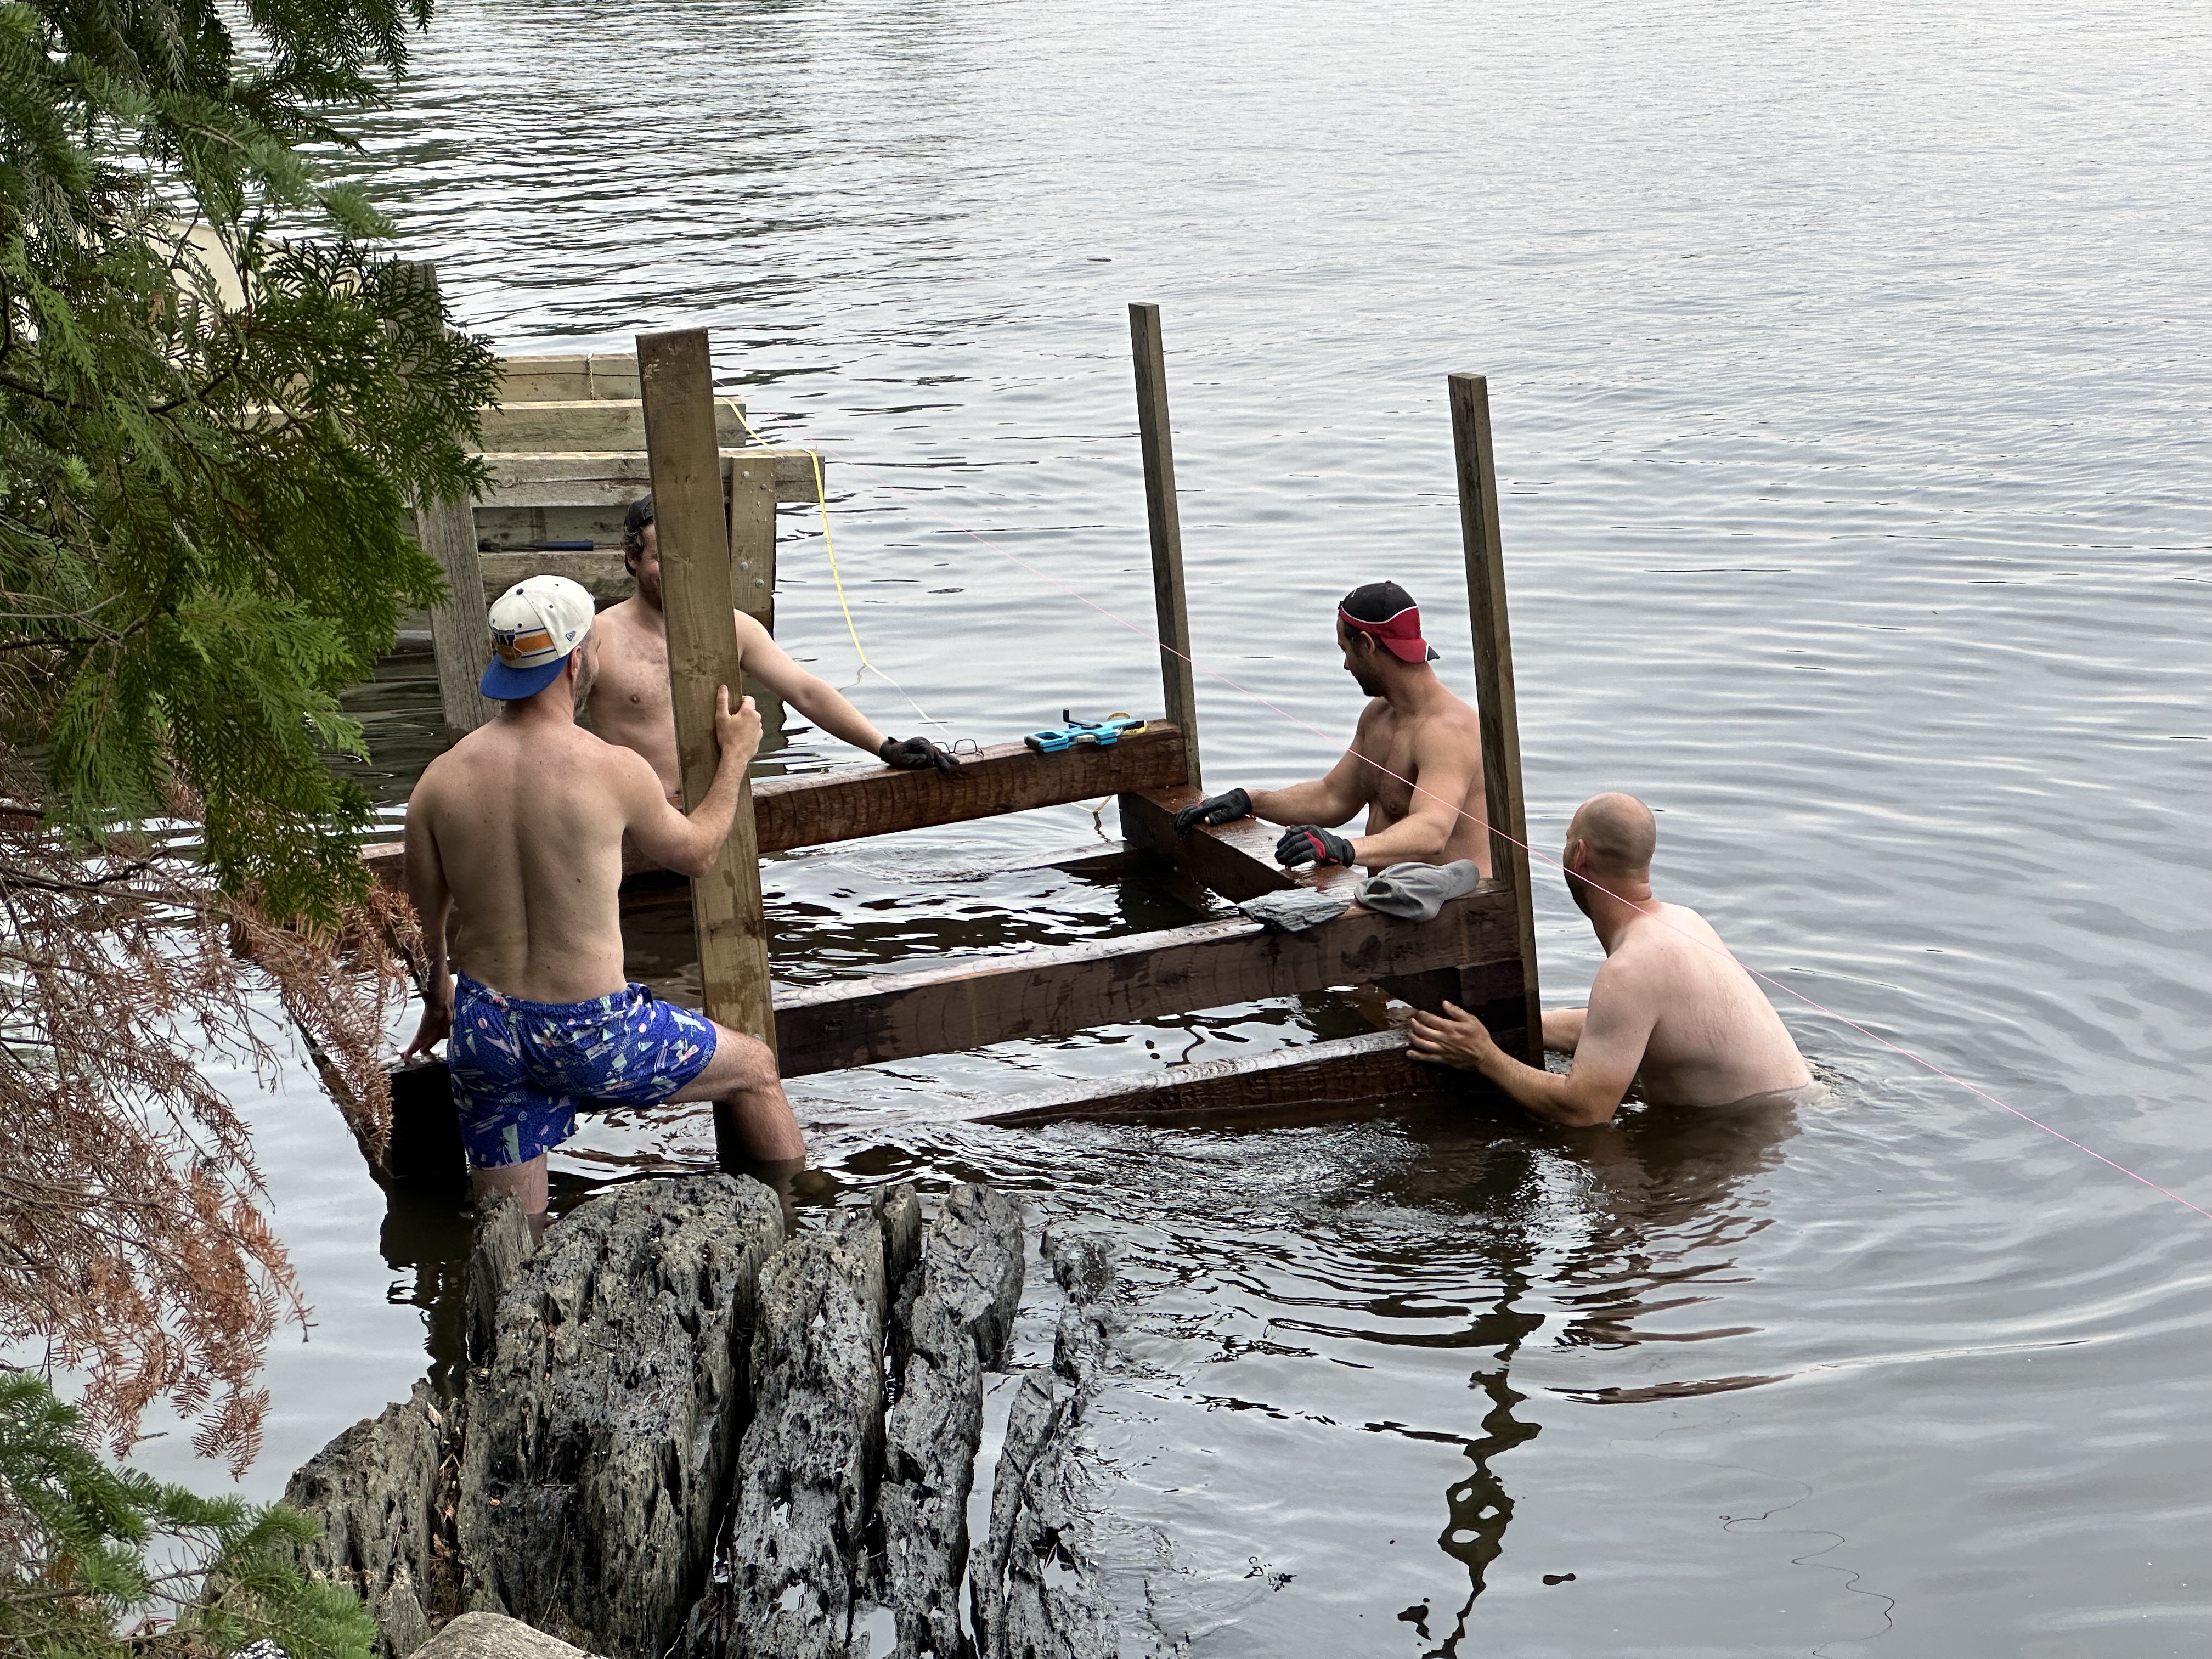
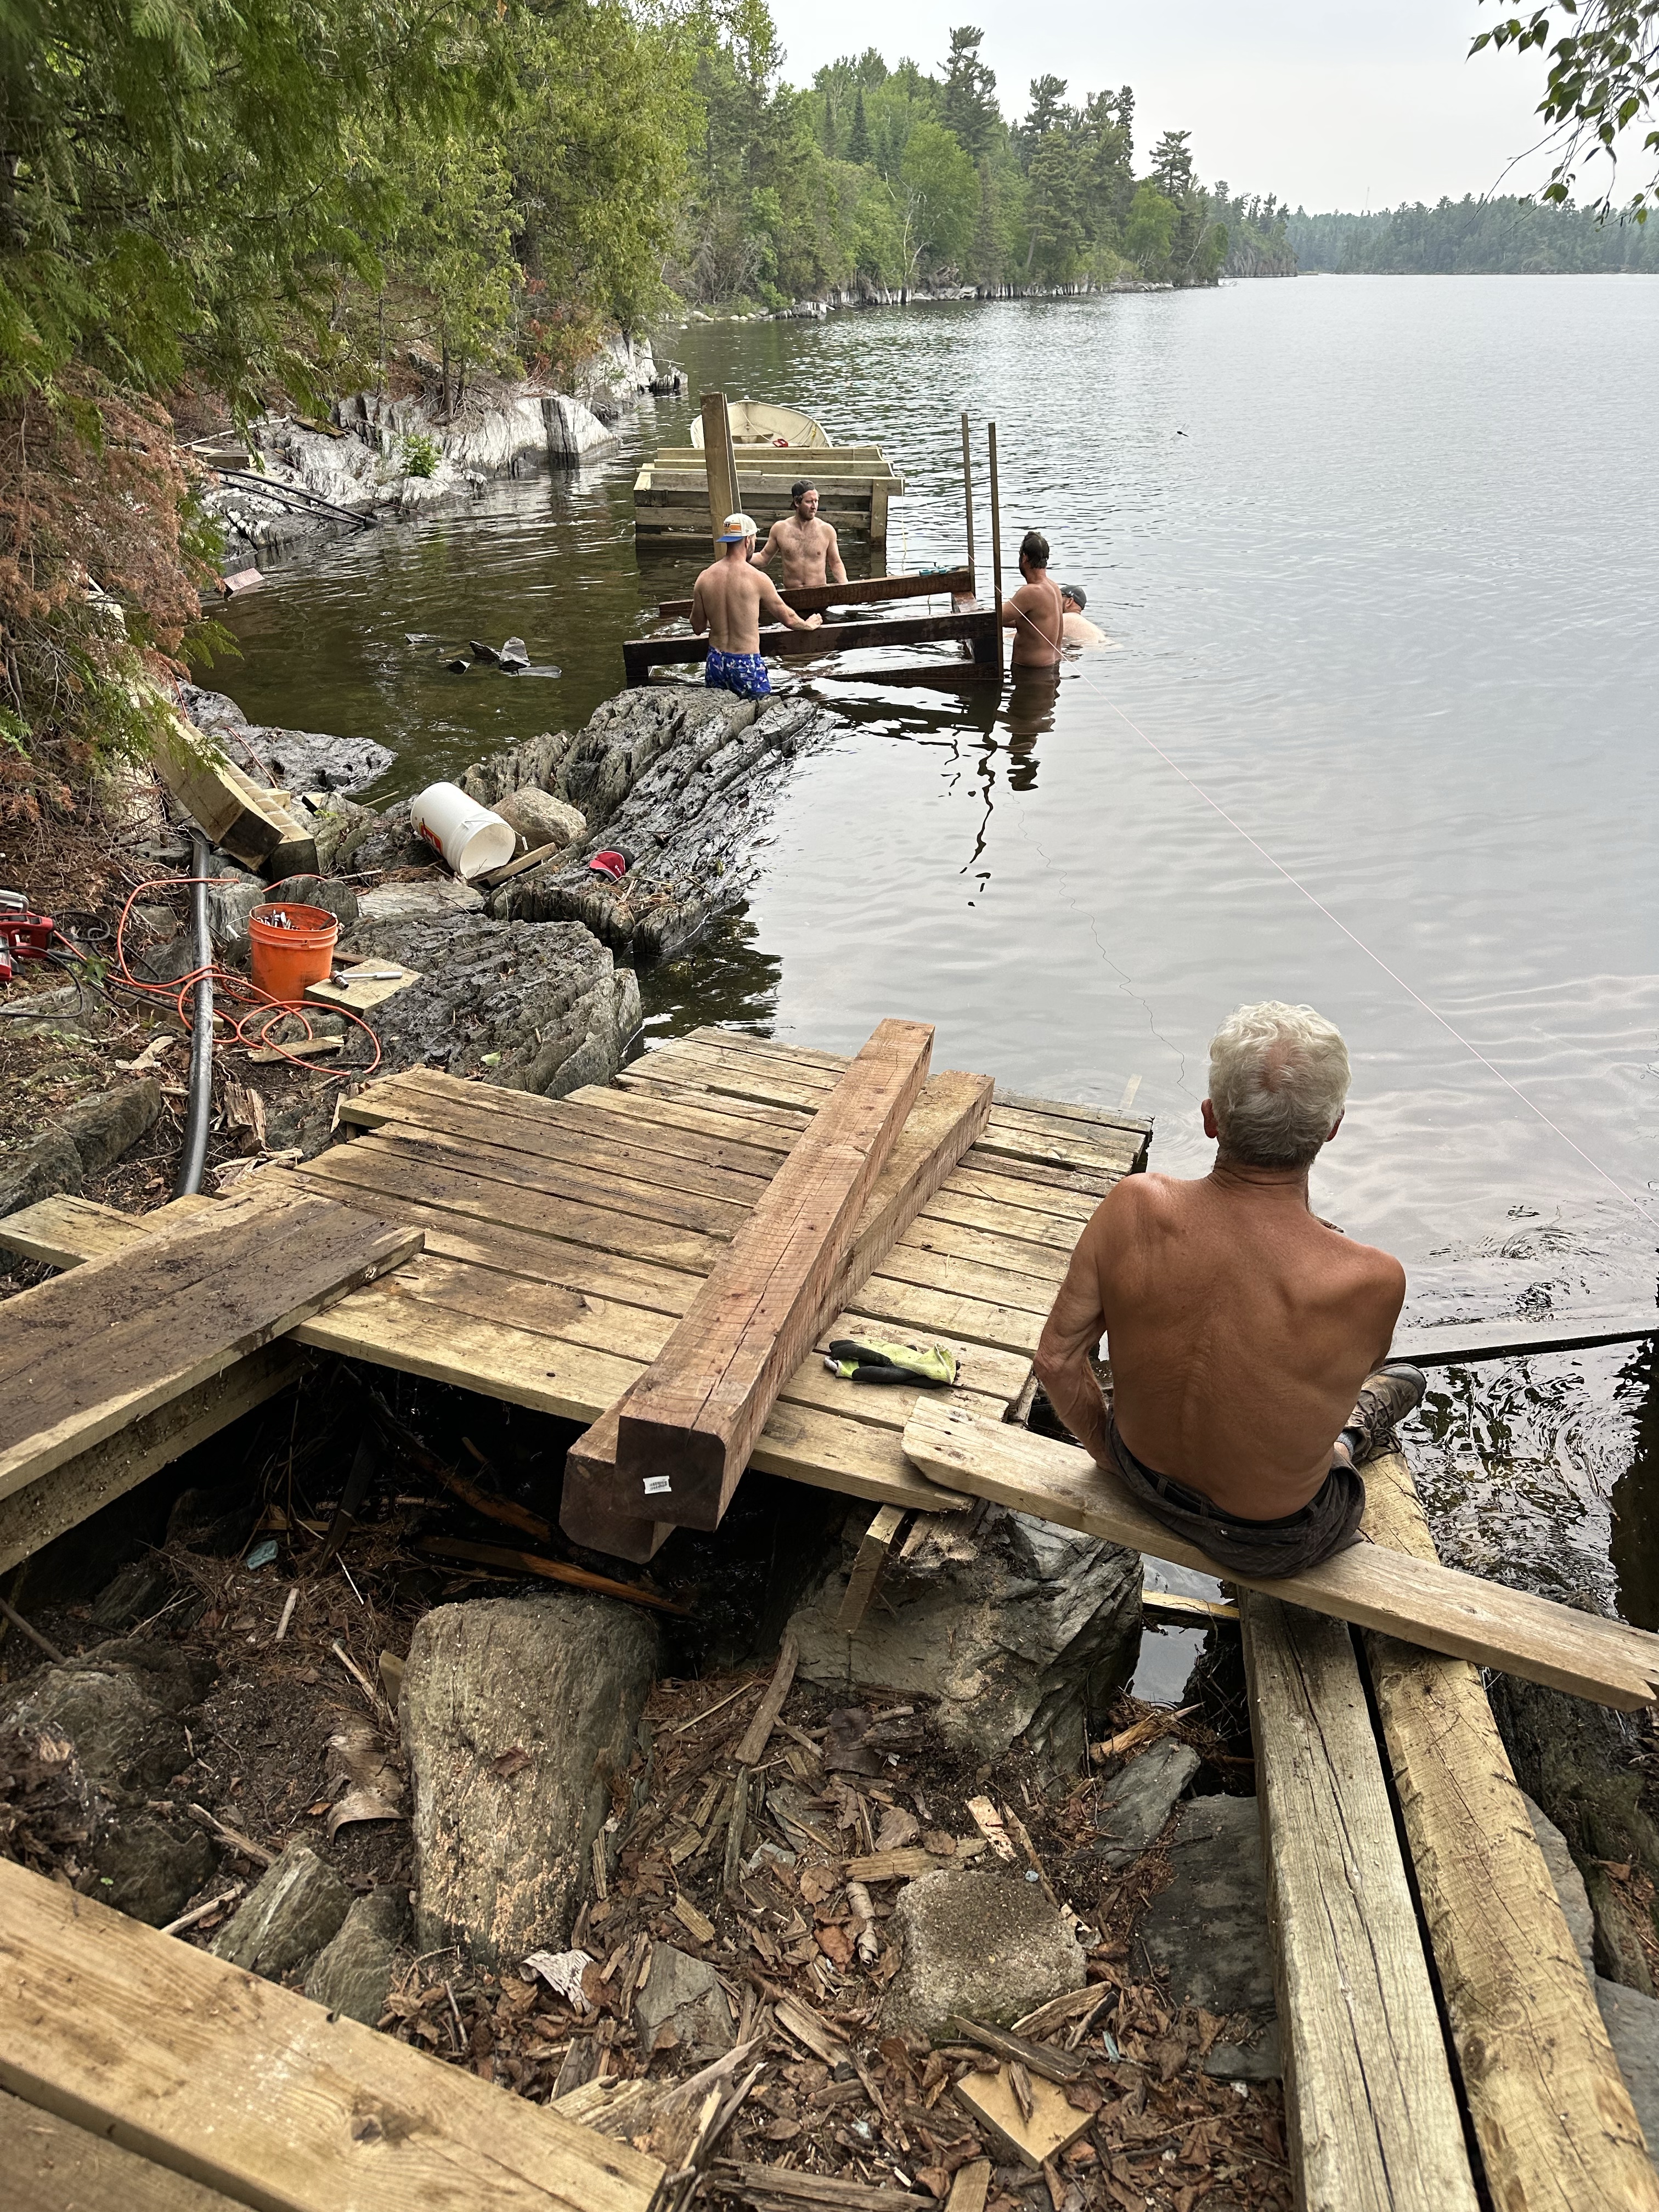
    So much for the history of the dock. With the demolition of the old dock complete and the cottage ready for everyone coming down next weekend to start the build we’re ready for the big project for 2023, actually the biggest project since the cottage was built almost 40 years ago.

  • Dock Rebuild: June 6 – 9th

    Dock Rebuild: June 6 – 9th

    This is the start of the rebuild which is the deconstruction of what remains of the damaged dock.

    Eric takes most of the week off to go down and pull the old dock apart in preparation for the rebuild. Old lumber is stacked up by size and re-use potential. Some lumber will be firewood, some with find a reuse in the dock or ramp.

    Old wood stacking up
    The 28′ section that ripped away and drifted over near the neighbours
    Floating dock along side the stripped down dock
  • Thankful

    Thankful

    A while back I decided to make an effort to be more thankful. And to that end I started a list on the iPhone Reminders app and I get a daily prompt to put something on the “Thankful” list. Now not every day gets and entry but most do. Another facet of this initiative is to monthly review the list to remind me of all the things I’m thankful for.

    As a part of this month’s review I thought that once in a while I’d share one of these “Thankful” items on the blog. First up is this one.

    Easton is my Grandson and this phone call was quite out of the blue and I don’t normally get any phone calls for the Grandkids so this was kind of special. The tree fort is at the lake and for me this meant he was thinking of good times at the lake and planning for more good times in the future. ?

  • Electric Start

    Electric Start

    A couple of years ago the electric start on our 1990 Mercury 25hp outboard stopped working. I’d thought about taking it in to a marina to get it repaired but that would be awkward, put the boat out of commission for an unknown amount of time and likely be costly. It still started well with the manual “pull the rope” method so nothing was done. This year it was the target of a DIY repair.

    (more…)
  • Dealing with the Deck – Part 2

    Dealing with the Deck – Part 2

    Shorty after opening the cottage on the May long weekend I noticed a beam supporting the deck on the lower north side had some very bad rot and was collapsing! Also, some of the posts supporting this beam were in pretty rough shape too! Part 1.

    The old beam on the way out.
    (more…)
  • Here today, gone tomorrow

    Here today, gone tomorrow

    We’re back at the lake and this is the view that greeted me when I went down to the dock.

    Hmmm, there is something missing here.

    For those in the know there should be a 20’ section of dock with an 8×16’ floating dock attached to it over where those two random looking posts are in the water and connecting to the far left site of the dock that is still holding on, barely.

    Yes, the lake level is high and thanks to some recent torrential downpours in the area it continues to go up.

    The dock was there last weekend but I suspect due to a violent storm that went through the area on Tuesday July 19th and the ongoing wave action that has been rocking the whole dock system for a couple of months now, it just couldn’t hang on any longer.

    Thankfully, the dock segment didn’t go too far away and it’s just around the corner to the north of us in a small bay next to our neighbours dock. I’ve tied it up there and I guess it will remain there until the lake levels go down to a point where repair efforts can be made.

    The lounge chairs that were on the dock also went missing. I did my best “Mike Nelson” impersonation and looked underwater along the shore line between our dock and the neighbours where the runaway dock is currently residing. Turns out they were in front of the floating section at it’s current resting position in about 8’ of water. One by one I dove down, attached a rope and then hauled them back up. The are now tied to the dock to prevent any further underwater recovery efforts.

    Lake life, the best life. ?

  • Dealing with the Deck

    On the May long weekend as I was checking on various cottage systems during the opening process I noticed a problem with our deck. A fairly significant issue where wood rot on one of the beams is causing it to collapse.

    This beam has some serious rot right above the post which is also in rough shape

    This issue is at the front (lake side) left corner of the deck that wraps around the entire cottage. This is also the point where the cottage and deck are highest off the ground as the ground is sloping downwards to the lake quite rapidly in this area.

    I wasn’t around when the deck was being built and my dad and his friends did it all. There were some interesting decisions made in places and this is one of them. The ground right under this corner of the deck is quite uneven and has some large vertical rocks right where you would normally have the post to support the corner. A decision was made to insert two posts away from this corner and cantilever the deck out away from these two posts.

    Far corner just hanging in the air

    So the plan I came up with is to build a temporary beam, support the beam on several temporary posts and to use the temporary beam and jacks to lift the deck a bit and cut out the damaged beam. A new permanent beam would be inserted into place onto some new posts and improved footings. The temporary beam would be lowered and removed to complete the repair.

    Step one was to tackle the far corner where there is currently is no post by pouring a concrete footing over the vertical rock structure using the rock to anchor the concrete.

    The area is pressure washed and as much loose material as possible is removed. Then a sono tube is customized to fit over and around the rock.

    Three 30kg bags of ready mix concrete were used and mixed by hand in a wheelbarrow
    Custom shaping to sono tube to surround the rock

    One thing I didn’t anticipate was that cutting the sono tube like this (above) on both sides weakened the structural integrity of the tube. As the concrete was added the weight caused the bottom of the tube to flair out. Several rocks were used to hold it together preventing a blowout.

    The resulting shape is a little interesting but it should do the job.

    New concrete footing, a little splayed out around the bottom for extra support.

    The new temporary beam is quite an engineering feat that I’m hoping will do the job. The main piece is a 2×10 – 12’ with a 2×6 – 6’ stacked on the front end to account for lack of joists in this area because of the direction of the deck boards across the front. A notch is cut in the 2×12 to allow it to fit into some other deck members.

    As I’m working alone getting this 2×10-12’ up in the air about 8’ at the far end is a bit of a challenge. I create some slings from some wire and attach the sling to the deck boards above. This way I can lift one end at a time into the slings and then tighten them up to bring the beam up to the underside of the deck. With the temporary beam hanging in it’s rough position I create several footings and posts with jacks on top in preparation for lifting the deck. Did I mention this is a two story deck?

    Temporary posts are installed and braced and some existing bracing is repaired on a few other near by posts. 40+ years is tough on the wood that is exposed to the elements.

    One of the temporary posts next to the rotted post to be replaced and the temporary beam suspended overhead.
    My temporary Franken-beam hanging in it’s rough position

    The beam being replaced is 16’, my temporary is 12’, what to do? Making good use of various bits and pieces of lumber that have accumulated around the cottage from other building projects I manage to extend the 12’ by an additional 4’. I use two 2×6-6’ and a 2×6-4’ to scab onto the 12’

    The back of the beam with 3 2×6’s laminated together supported by a post and a classic screw jack that was my grampa’s

    In the middle of the temporary beam is another post with a telepost on top
    At the front end another post that was salvaged and in rough shape on top of a footing that is also a bit sketchy with a nice telepost on top. Just over 8’ to the ground in this corner.

    All of this so far has taken four days. Not exactly full working days as I start between 9 and 10am by fogging for mosquitoes, applying insect repellent and gathering the tools. I work straight through until 2-3 pm when the insect repellant is wearing off and the mosquitoes are becoming annoying and I’m getting tired. ? Things are slow as the ground is quite uneven and you’re always hunched over under the deck. With extra beams, posts, bracing etc. it’s getting to be quite the obstacle course and I’ve still managed to bang my head on various things several times.

    At this point I’m ready to cut all the nails holding the old beam in place and start to lift the deck to free the old beam.

    Part 2.