Category: Renovations

  • Kitchen Update #4: Installation Day

    Kitchen Update #4: Installation Day

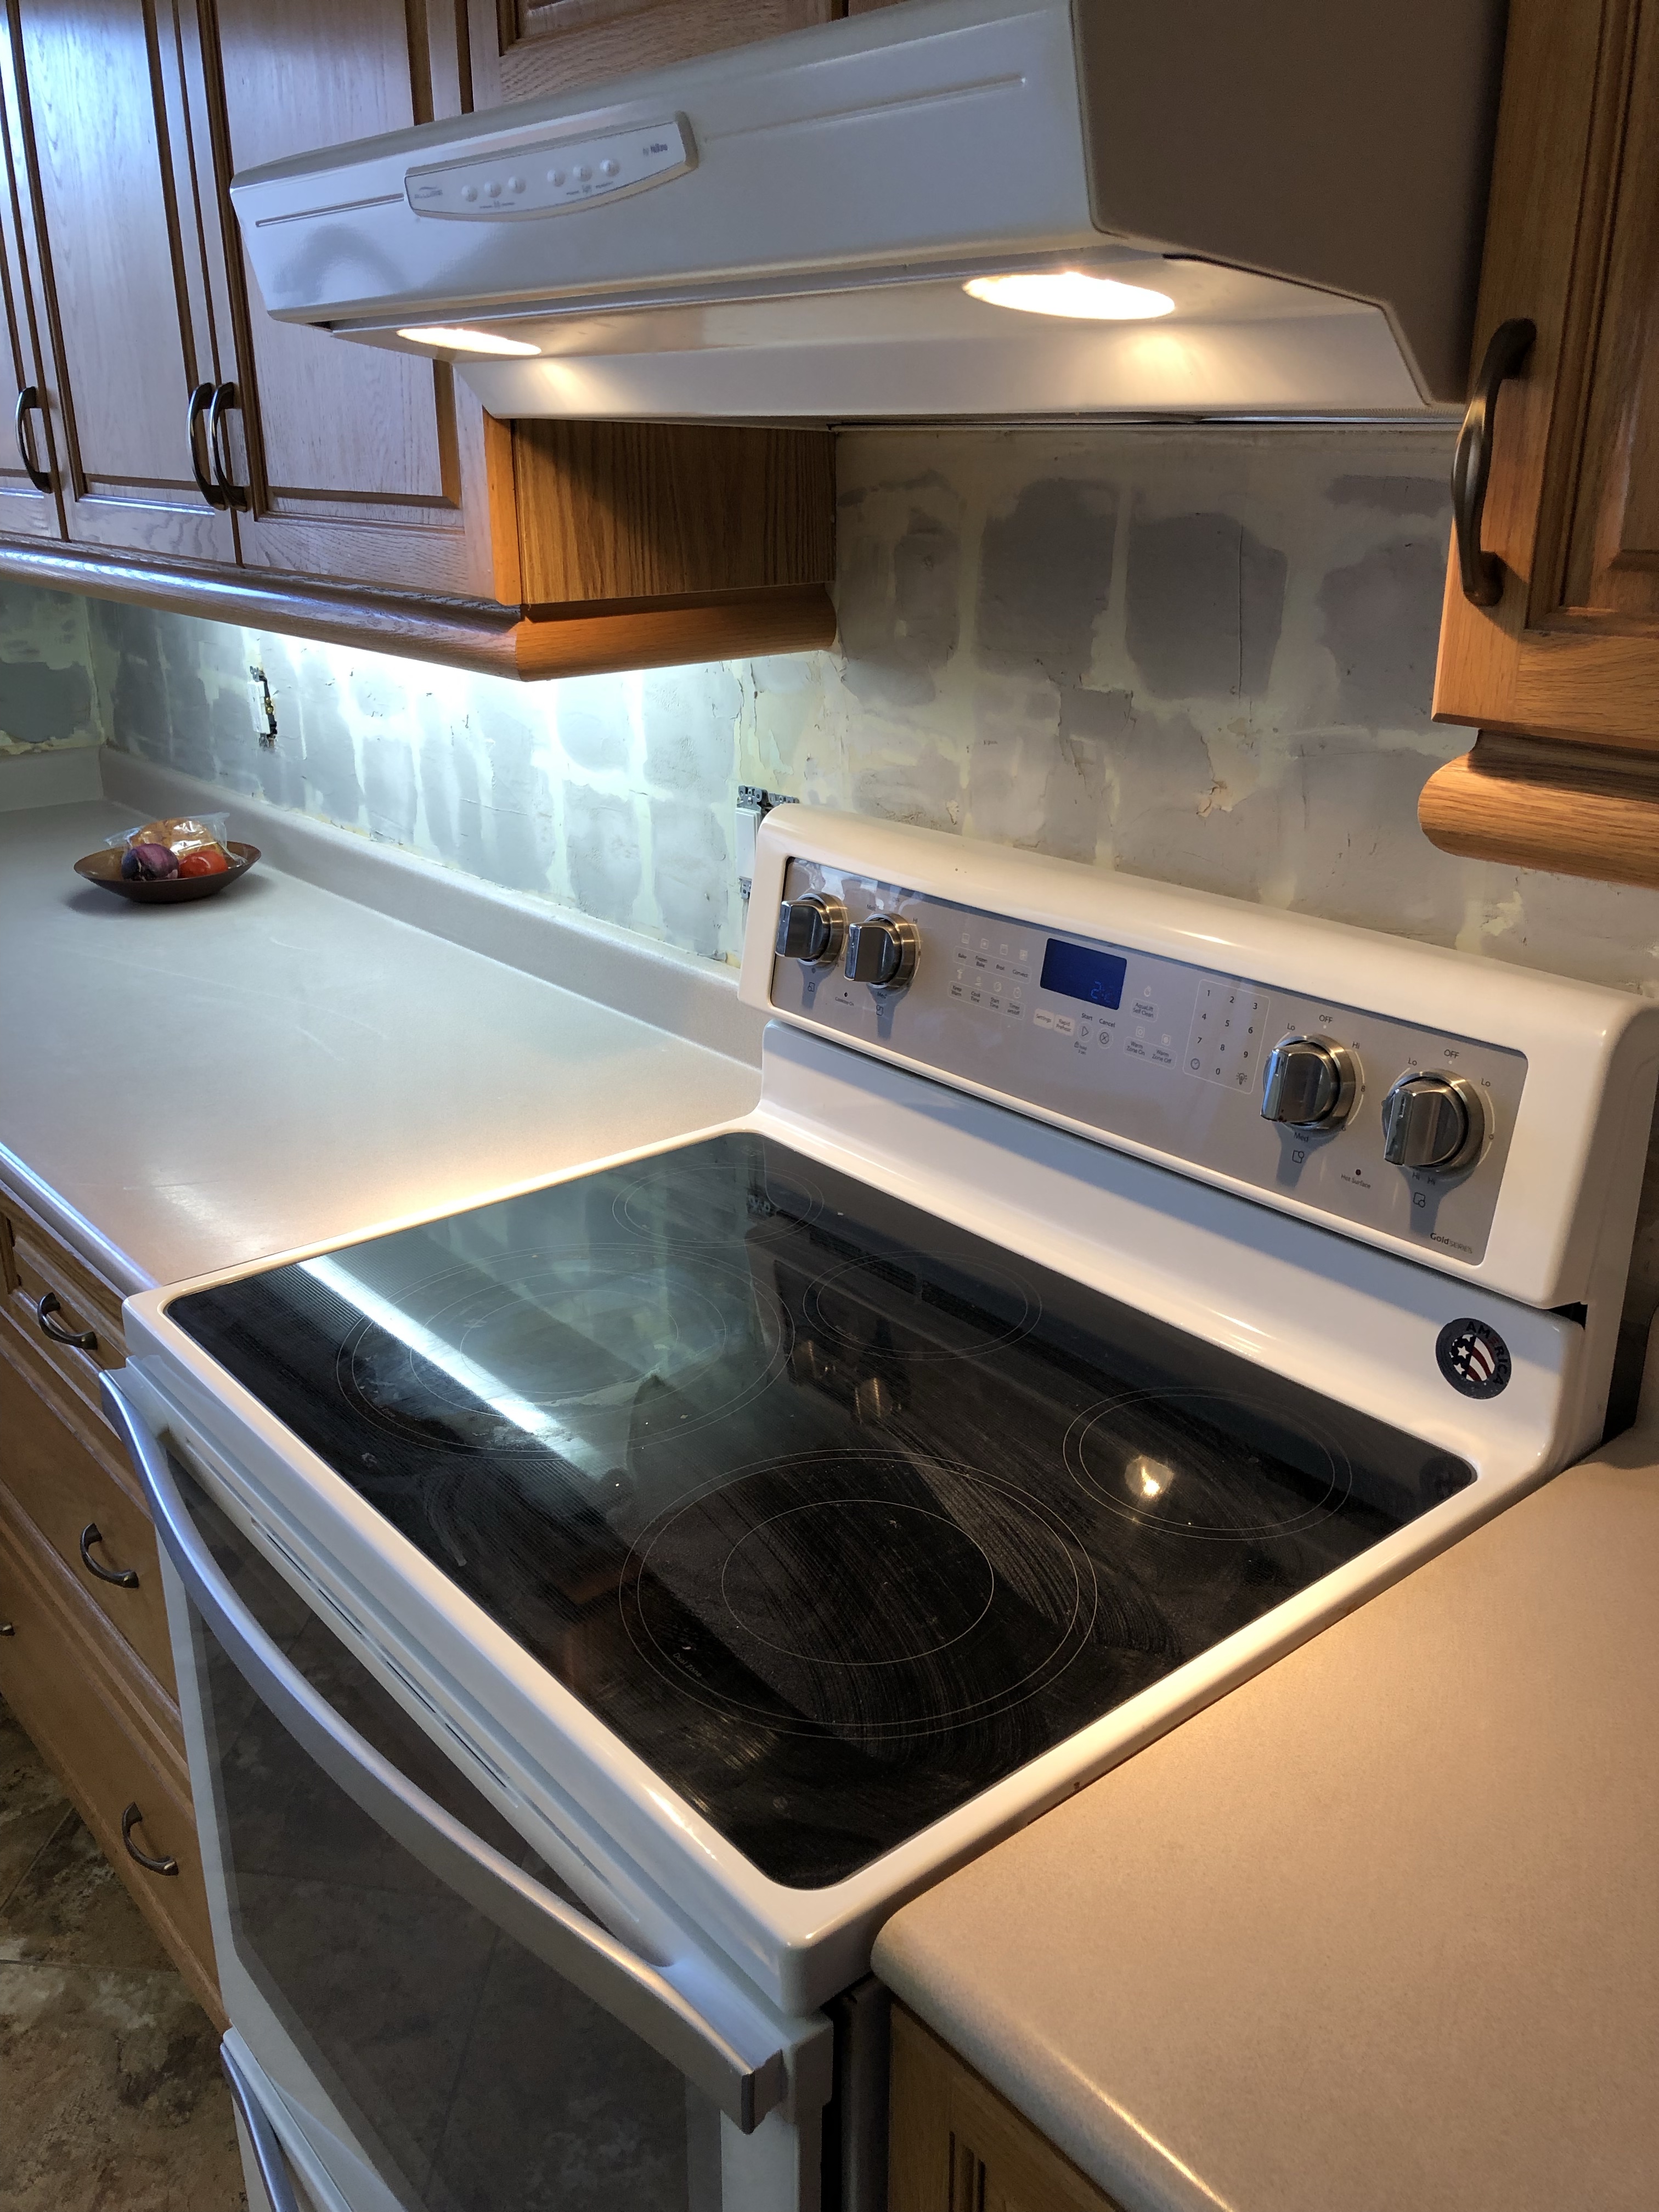
    The counter is ready and the installers are here. Inside of two hours the counter is installed and the new sink is in place.

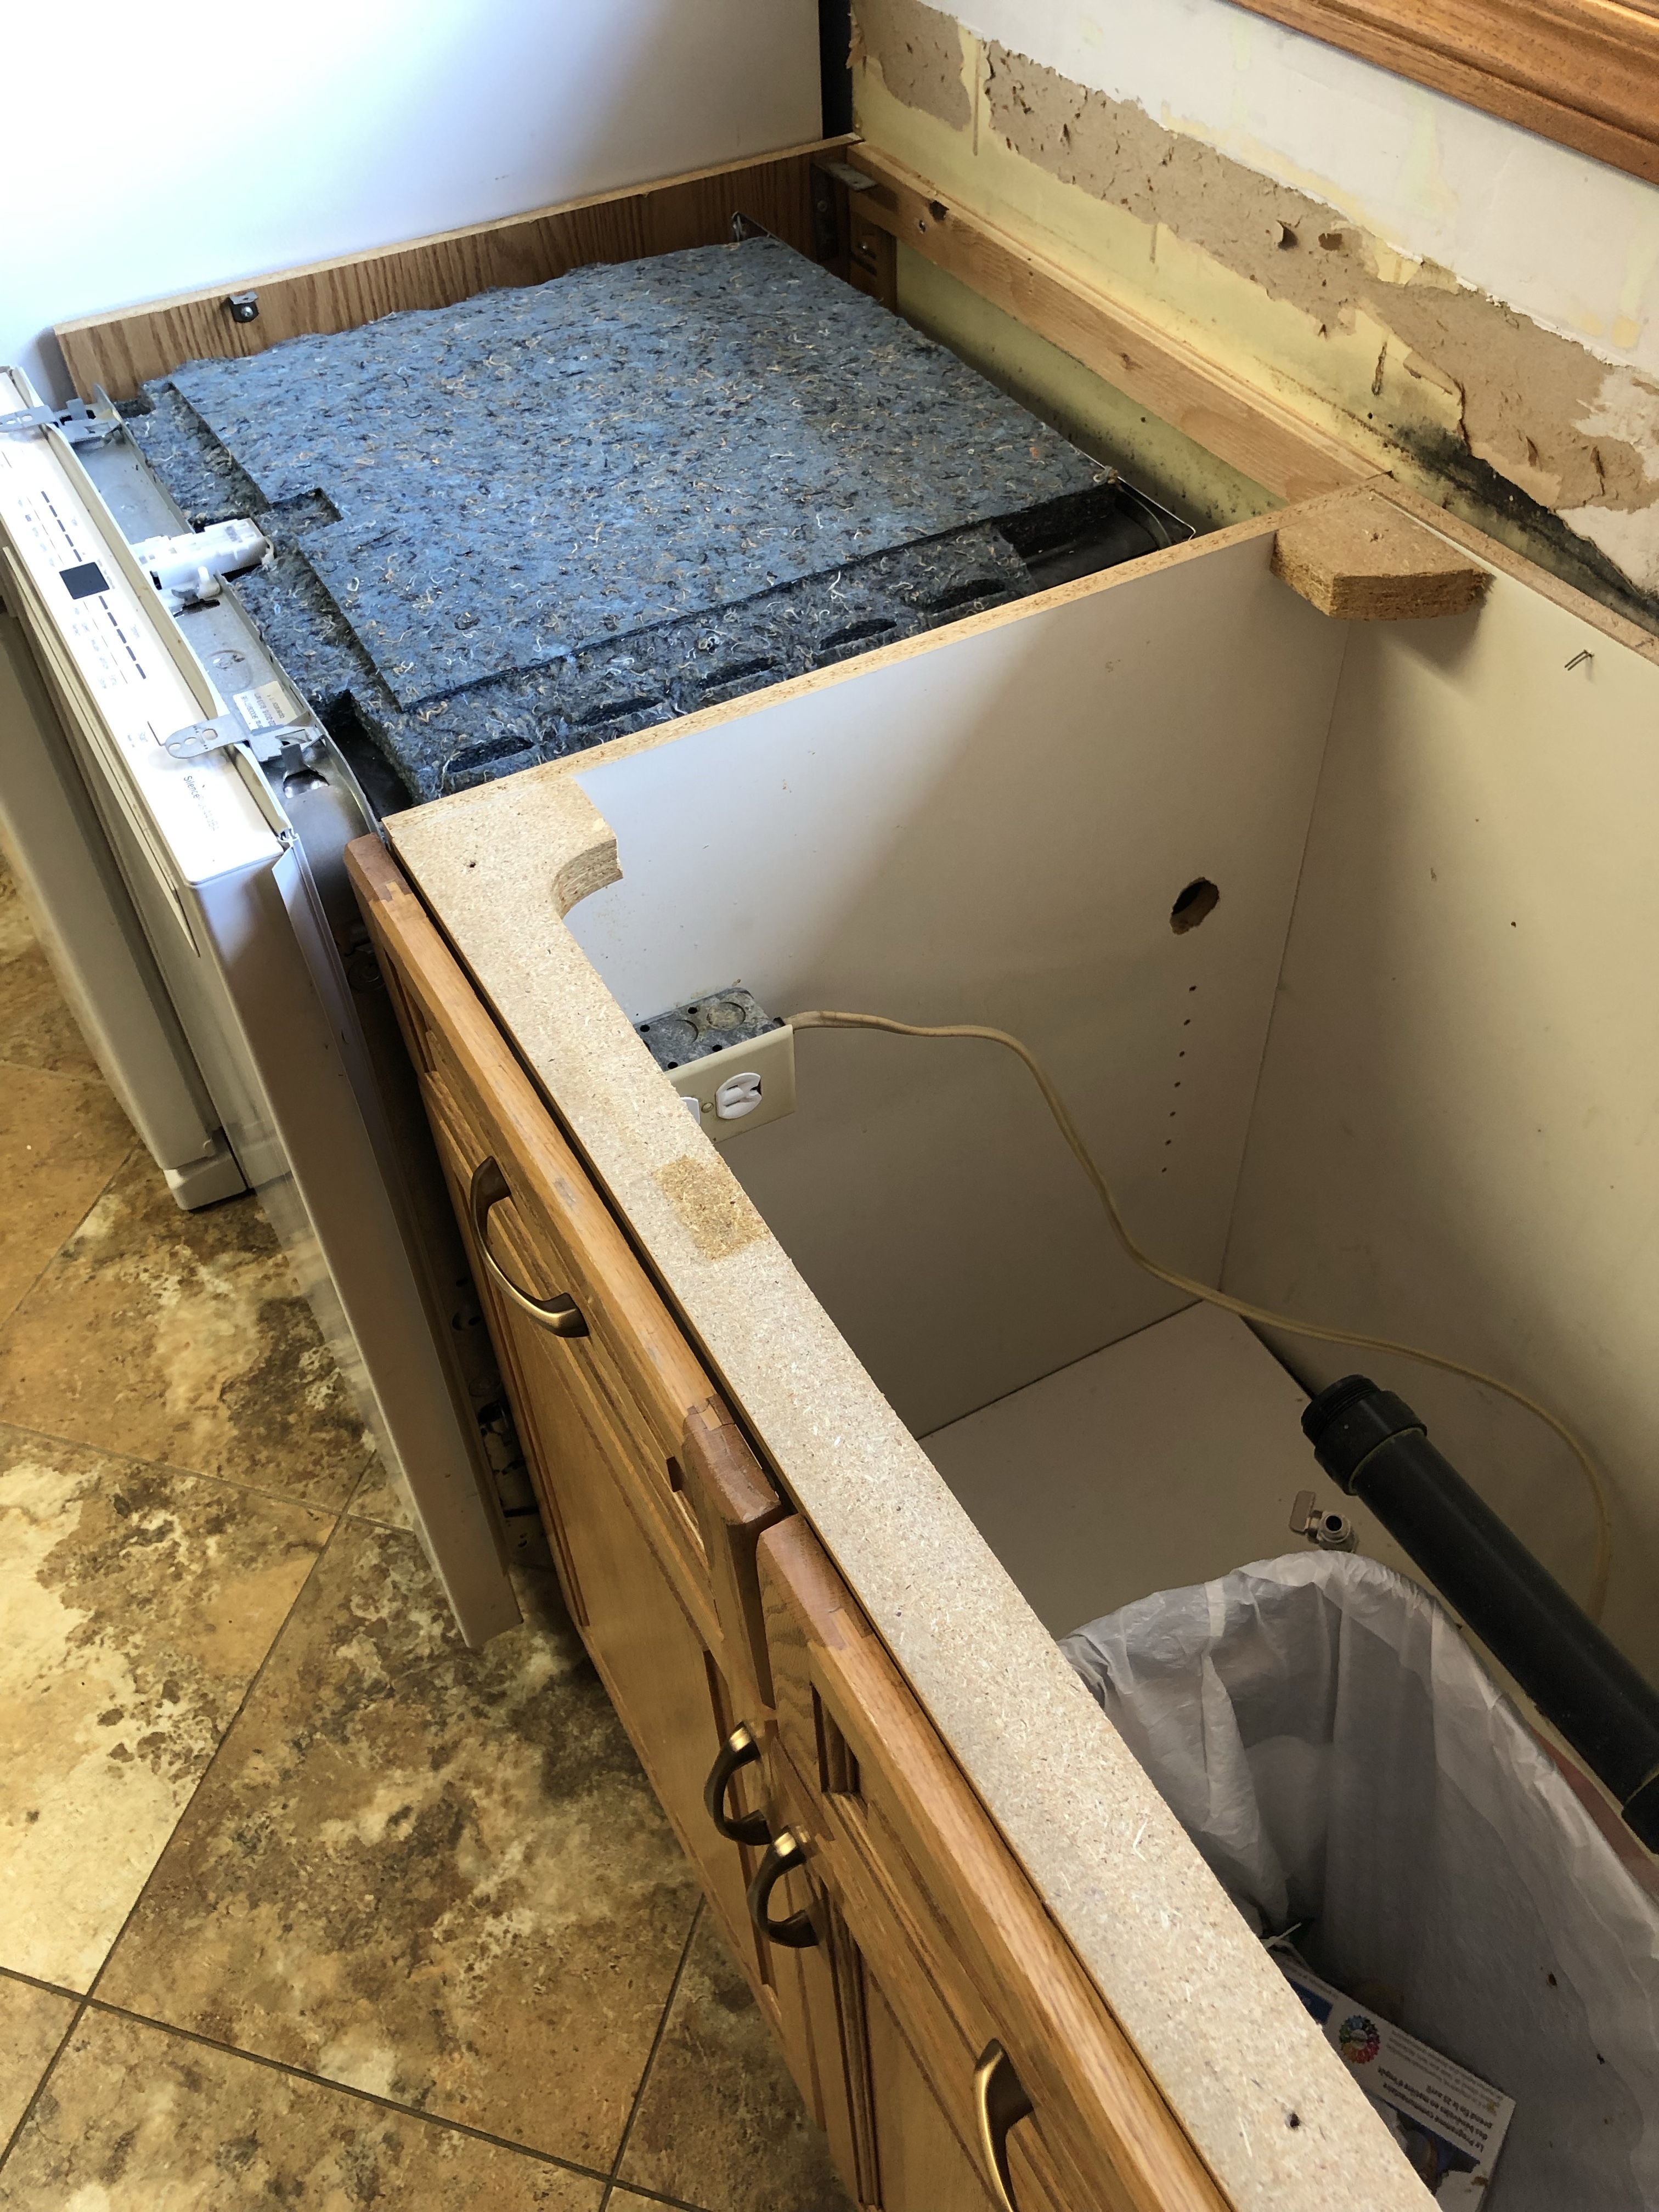
    For me this meant that last night I removed all the now old counter tops for the last time. Disconnected the kitchen sink and the dishwasher and move the stove out of the way.

    Unfortunately, I didn’t get a picture of the process they used to join the two pieces right in the middle of the sink. Two suction devices where placed on either side of the sink cutout and a vacuum pump attached. Each suction device had a bar on one side that allowed the installer to attach a nylon web strap with a ratchet device to each suction device. The epoxy joint compound was then mixed and applied, the two sides were pulled together by the ratcheting strap while multiple clams ensured that both the back and front edges of the joint were flush and smooth on top. The joint is almost invisible in the end.

    Of course once the counter installers are done, the other trades (me) are on tap to put all the appliances back and reconnect the dishwasher and re-locate the electrical switch for the garburator . The sink connections have to wait 24 hours to allow all the silicone and epoxy to set properly.

    The new deeper sink requires a small adjust meant to the drain, which turns out to be a full re-build of the connections from the garbage disposal to the drain line.

    Plumber’s delight

    Once we’re all reconnected it’s put back all the stuff that lives on the counter and start thinking about the next step which is is to finish repairing the wall behind where the old counter top was and prime it in preparation for backsplash tiling.

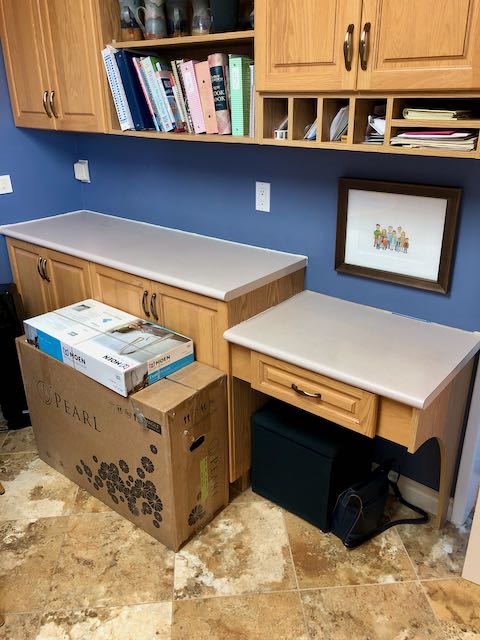
    Until then the the kitchen looks like this.

  • Kitchen Update No: 3

    Kitchen Update No: 3

    Today was the templating day where they come out and measure your kitchen exactly for the new countertop.

    Originally scheduled for around 10:30 there was a cancellation so Larry, the person doing our templating, is able to arrive at around 9 am

    We were told by some other folks that they would make a cardboard template of our counters to guide their production of the actual quartz countertop. Turns out that is very old school.

    Larry sets up a tripod with a tablet computer and laser on top and proceeds to map out our kitchen with laser precision. I hear a tape measure being used occasionally but probably just to confirm the digital diagram that is being produced.

    Larry says it doesn’t matter if your walls are straight or your corners are not square the scanning will take care of all that for a perfect tight fit.

    In under one hour we’re signing off (digitally of course) on the finished diagram that will be used to generate the instructions to drive the CNC machine in cutting out our quartz top. Hand cutting stopped 10-15 years ago and it’s all digital now.

    In about another hour I have the counters back in place and the sink hooked up again. In 5-10 business days we’ll be getting a visit from the installers and I’ll yank out the current countertops one last time.

  • Kitchen Update No: 2

    Kitchen Update No: 2

    Tomorrow the installers arrive to template for the new quartz countertop. That mean that I need to remove the old countertop before they arrive.

    Several sections of countertop are easily removed. Just unscrew from underneath, cut off some silicone sealant and off comes the tops.

    Then there is the more interesting section, the “L” shape that includes the kitchen sink. My initial hope is to leave the sink in the countertop and remove the whole thing together. This turns out to be more difficult than estimated so I end up removing the sink.

    Pulling the sink of course means shutting off the water to the tap. Thankfully, somewhere along the line I’ve installed shutoff valves under the sink so that’s easy. Next is remove the garburator, disconnect the drains, disconnect the tap and unfasten the sink. With all the plumbing disconnected and out of the way the sink pops out without too much difficulty.

    The dishwasher needs to be pulled out to unfasten the countertop. This requires disconnecting the water to it in the basement and again some smart guy installed a shutoff valve for that as well so while the sink & dishwasher are disconnected the rest of the house still has water.

    The “L” shape comes off in one piece. It’s snug but comes out clean and is now out in the garage.

    Tomorrow, after the templates is done I’ll be reversing the whole process to get the countertop, sink, and dishwasher operational for the 5-10 business days before the final install of the new quartz countertop.

    So, for the next 24 hours it’s minimal countertop and washing dishes in the bathtub or stock piling them up in the dishwasher.

  • Kitchen Update No: 1

    Kitchen Update No: 1

    We’re updating our kitchen counter tops to quartz!

    As is seemingly quite normal one new thing tends to lead to a bunch of new things. New counter mean new sink, new faucet and new backslash tiles.

    While the new counter will be installed by the pros I’m tasked with removing the old counter and doing the new tiles. New tiles means removing the old ones. To test out that process I’m starting behind the stove.

    Behind the stove

    No turning back now so I’m hacking off the rest of the tiles trying to minimize the drywall damage.

    Unavoidable drywall damage

    Let the patching begin! Coat #1.

    I suspect there will be a couple of rounds of mudding and sanding to get the surface ready for tiles and then a coat of primer.

  • House Work

    House Work

    I seem to have had some new motivation lately to accomplish a few long outstanding tasks around the house.

    We have 3 basement windows that were never finished when the basement was developed. I just didn’t know how to tackle trimming them out without a lot of messing about. And then, early in the pandemic, I saw and Instagram reel from a finish carpenter essentially building a box with trim attached on one side of the box opposite the window and then you just shove it into the rough window opening. Genius! I made 2 of them and they were a big success. But, for some reason, window #3 got neglected for quite some time. And then the third window finally got it’s trim on.

    Project #1 completed.

    When we finished the basement, many years ago, there was an opening left in the drywall to access the area under the stairs which we, like most people, use for a storage area. Well, the opening was an unusual shape and off and on I’d think about how to finish it off with some kind of door. And then I’d forget about it and a few more years would pass.

    Finally, I decided to build a custom door. I remembered some 1/4” oak plywood in the garage so I build a frame using a Kreg pocket hole jig to fasten the frame together and sheeted if over wth the 1/4” ply and trimmed out all the edges with oak moulding.

    Project #2 completed.

    Again, a door opening in the basement where we had planned to put French doors into just never got completed. Finally, after deciding the French doors were not happening, the opening was painted to match the rest of the basement but it was still exposed 2x4s and the edge of the drywall.

    After buying some very expensive architectural moulding which made the job simpler and some oak trim to match the other basement doors, voila!

    Project #3 completed.

    Last one. Can you figure this one out?

    Well, the wall going downstairs to the basement had quite a few dings, scrapes, scuffs and some patching that never got painted. So, some washing, patching, sanding and a fresh coat of paint has it looking like new.

    I wonder what’s next? Oh yeah, that kitchen reno.

  • Railroad Clock

    Clock Repair

    Clock Cleanup

    Back in Action

    I’ve had this clock since I was about 14 and at that time is was already an official antique, being appraised a just over 100 years old. It was originally in the train station in Rennie, Manitoba near Brerton Lake in the Whiteshell. So, how did I get this little treasure? Well one weekend my Dad and one of his friends were doing some maintenance work at the CGIT Camp on the lake and that meant I was helping. My assignment that day was to paint and immense dinning hall floor a very nice shade of battleship gray. Wow, just how I wanted to spend my Saturday at the lake. The clock was hanging in the hall and as I painted, it caught my interest. The varnish finish was all cracked and pealing and it didn’t run. Well, with a little negotiating I managed to obtain ownership of the clock in lieu of payment for my days labours.

    Once I had it home, I began the re-finishing process and stripped off the varnish and replaced it with a nice soft oil finish. The clock mechanism was another story. Upon investigation, one of the brass gears had a tooth broken off, something that a 14 year old wasn’t going to be able to fix. Dad to the rescue! He took the clock to an old school clock repair guy, probably one of the last in the city ,and a new tooth was fashioned and soldered into place.

    Did I mention that it ticks rather loudly? The clock was installed in a place of honors on the wall at the foot of my bed. It took me a night or two to get used to the ticking, apparently it took my parents much longer to get used to sleeping with the rhythmic tick, tock, tick, tock, but everybody survived.

    Ever since then the clock has been in our home. A while back the rod attachment that holds the pendulum in place broke off, so there was no more ticking. And then, during a recent redecorating spree I was informed that it’s place of honour in the living room was no longer “appropriate”. Since that day the clock has been in storage. So, this weekend the restoration began again. A fresh coat of oil finish, some brass polish and re-attaching the rod for the pendulum has it in tip top shape once more, and restored to a place of honour in my office.

  • The drought is over

    That’s right after seven or is it eight years, the Stewart household once again has… baseboards!

    Man that renovating! One thing just leads to another and another and before you know it, you’re putting up baseboards.

  • Sanding the front room


    Sanding the front room
    Originally uploaded by Big Dadoo.

    Things are really moving along on Eric & Dez’s house renovation project. Lots of drywall finishing and painting happened during the week. This weekend I finished all of the wiring with the exception of some ceiling lights and some outlets etc. in the basement that are waiting for drywall. Eric and Doug put in the kitchen cupboards and Scott started the floor sanding. There have already been some long nights and I suspect that last night was a late one for Eric as he finished the sanding in order to return the rented sander by noon today.

    The sander rental was almost free in comparison to the sanding supplies. Wow, the sandpaper and backing pads were expensive and you need a lot ot them.

  • In the basement

    saw
    Saw by s2photography
    Originally uploaded by Big Dadoo.

    This weekend the renovations focused mainly on the basement.

    During the week Eric & Dez finished the upstairs drywall and started mudding the walls. Currently there are a couple of coats in most areas and sanding should start during the week.

    On the weekend about 3/4 of the exterior basement walls have been studded and the utility room framed up. The perimeter wiring is in place and some insulation and vapor barrier is up on some walls.

    Several bits of plumbing have been capped off or moved, and some of the reconnections are proving to be a challenge. About eight 8′ lengths of framing for enclosing the heating ducts were assembled and are ready to attach to the joists. So, quite a bit of progress in the basement and it’s starting to look quite good.

  • Bathroom Wiring


    Bathroom Wiring
    Originally uploaded by Big Dadoo.

    This afternoon, after church, I was helping Dez and Eric with their house renovations. Today, I was the electrician. We wired up a bathroom ceiling fan, replaced a bunch of wire, re-routes lights to different switches and roughed in the bathroom light fixture and a GFI outlet.

    Len, Darlene and Jared were there as well. Len and Jared completed the basement tile removal project and then demolished some storage cabinets at one end of the basement. Darlene had the job that everybody has done some of and hates, removing floor tiles. Ones that really didn’t want to come off at all.

    Doing the electrical work with Eric made me thing about doing the wiring at the cottage. I really enjoy electrical work, so it was lots of fun to help out. Next time, I think it’s back to drywallling.